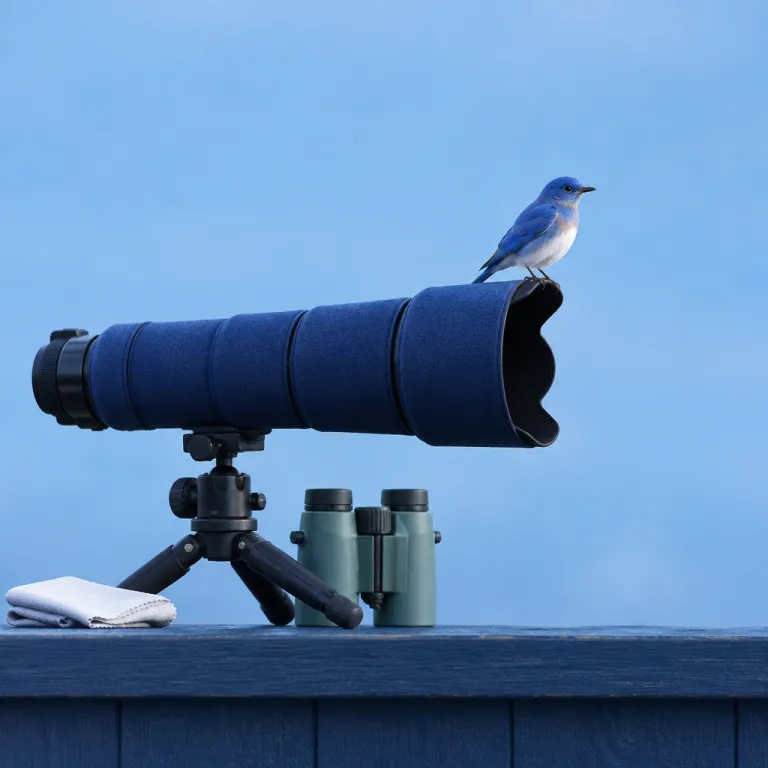
Why backyard bird photography is the perfect training ground
Backyard bird photography for beginners turns your garden into a quiet classroom. You can practise on a single bird or a busy flock without travelling, and every shot becomes a low pressure experiment that slowly builds skill. Over time, those repeated photos and images of backyard birds will teach you more than any manual.
Wildlife photography usually starts with frustration because birds are tiny, fast, and rarely fill the frame. Working at home lets you control the background, the distance, and even the light, which makes each photo and each image easier to analyse afterward. When you review your bird photos later, you will clearly see how changes in shutter speed, aperture, and lens choice affected your shots.
Think of your yard as a safe blind where the birds will gradually accept your presence. As you sit quietly, you can watch a beautiful bird hop between branches and learn the rhythm that predicts a bird’s flight and takeoff. That rhythm is what separates a random snap from a great bird photograph that feels alive.
Practising in your own space also builds habits that transfer directly to serious bird photography trips. You learn which photography tips actually help you react faster, and which settings only look good on paper but slow you down. Those simple tips about timing, light, and patience will matter more than owning a full frame camera body or the newest zoom lens.
Because you are close to home, you can test different photography setups on different days. One afternoon you might work on photographing birds in harsh midday light, and the next you might chase softer photos of birds in early morning shade. Each small experiment gives you concrete photography tips that you can reuse when a rare backyard bird finally lands in perfect light.
Reach, crop, and choosing the right camera and lens
Backyard bird photography for beginners quickly reveals a hard truth about reach. Even a good standard zoom lens at 70 millimetres leaves the bird tiny in the frame, so you will often need to crop heavily just to see feather detail. That is why many bird photographers prefer an APS C camera body, because the smaller sensor effectively gives more reach from the same lens.
On an APS C camera, a 300 millimetre zoom lens behaves like a longer telephoto, which helps you fill frame with a small bird at a safe distance. At around 8 to 10 metres, a 300 millimetre focal length on APS C will usually frame a sparrow or finch from head to tail with a little space around it. This crop effect is a cheaper path to reach than buying a huge full frame super telephoto lens, and it keeps the whole photography kit lighter for long sessions.
Budget friendly super telephoto zooms have changed what is realistic for a hobbyist bird photographer. Lenses such as Sony’s FE 100 400 millimetre F4.5 5.6 OSS show that a 400 millimetre bird photography lens no longer has to be reserved for professionals, and that is a big win for backyard bird photography for beginners. With this kind of zoom lens, each shot of a bird in flight or perched birds will look far more intimate without pushing you uncomfortably close.
Whatever camera you use, protect your gear so it keeps working through seasons of bird photography. A simple lens cap or a more robust lens cover can prevent scratches and dust, and guides on how a Canon lens cover protects your camera investment every day explain why this small accessory matters. When your equipment stays clean and reliable, you can focus on timing the shot instead of worrying about damage.
Do not obsess over owning the absolute best camera body for bird photos. A midrange camera with a responsive autofocus system, a decent burst rate, and a telephoto zoom lens will outperform a flagship body paired with the wrong lens. In backyard bird photography for beginners, the right focal length and a comfortable handling experience are usually the keys to consistently good images.
Settings that actually matter: shutter speed, aperture, and focus
Backyard bird photography for beginners lives or dies on your settings. The most important control is shutter speed, because photographing birds means freezing motion from both a bird’s flight and your own hand shake. As a rule of thumb, aim for at least 1 over 1000 second for perched birds and 1 over 2000 second for fast shots of birds in flight.
To keep that fast shutter speed, you will often raise ISO higher than feels comfortable. Modern camera sensors handle moderate noise well, and a slightly grainy image of a beautiful bird is far better than a blurry photo that looked clean on the back screen. When you review your photos of birds on a computer, you will see that sharpness and timing matter more than a perfectly smooth background.
Use aperture priority mode when you want the camera to handle exposure while you focus on composition. In aperture priority, you choose the aperture and the camera will pick a matching shutter speed, which is ideal when light changes quickly as birds move between sun and shade. For backyard bird photography for beginners, starting around f 5.6 to f 8 often gives a good balance between subject sharpness and a soft background.
Continuous autofocus with tracking is essential when photographing birds that rarely sit still. Set your camera to a continuous AF mode, use a small focus area, and keep the focus point on the bird’s eye for every shot, because sharp eyes make even average images feel alive. As a simple starting point, try 1 over 1600 second, f 6.3, and auto ISO for small birds on a perch in bright light, then adjust if the histogram shows underexposure.
Stabilisation also plays a role, especially when light drops in the evening and shutter speed slows. Understanding whether in body stabilisation or lens stabilisation actually saves your handheld shots will help you decide how low you can safely let shutter speed fall. For backyard bird photography for beginners, stabilisation is a safety net, but it never replaces the need for a fast shutter when birds suddenly launch into flight.
Fieldcraft in the garden: perches, light, and ethical distance
Good backyard bird photography for beginners starts long before you press the shutter. Your goal is to bring the birds to a predictable distance, so every shot happens within the comfortable reach of your lens. Simple tips like placing feeders and water sources near a clean background will instantly improve your bird photos.
Think about where birds will land before they reach the feeder. Add a natural looking perch such as a branch or weathered stick at the right distance, and position it so you can fill frame with a single bird without cropping. At roughly 6 to 8 metres, a 300 millimetre lens on APS C will usually let you frame a robin or similar sized bird with room for the tail and a little space above the head.
Light direction is just as important as lens choice in bird photography. Whenever possible, keep the sun behind you so the bird’s face is evenly lit, and watch how different backgrounds change the mood of your photos. A distant, shaded hedge creates a smooth dark background, while a cluttered fence behind the bird will distract from even a great bird pose.
Ethics matter, even when you are only photographing birds in your own yard. Keep a respectful distance so the birds will continue to feed and behave naturally, and avoid any baiting beyond normal feeders and water that support their health. If a bird keeps glancing at you, flicking its tail, or refusing to land, step back or use a blind so your presence stops affecting its behaviour.
Many bird photographers use a simple portable blind or even a car parked near a tree to hide their outline. When you are less visible, birds will relax, preen, and show natural behaviour that leads to more interesting shots and more varied images. Backyard bird photography for beginners becomes far more rewarding when the birds forget you are there and you can quietly wait for that one beautiful bird to land in perfect light.
From first shots to polished images: building a practice loop
Backyard bird photography for beginners rewards repetition more than rare luck. Treat every short session as a test, where you deliberately change one variable such as shutter speed, aperture, or background and then compare the resulting photos. This habit turns random shooting into a structured practice that steadily improves your bird photography.
After each outing, review your images on a larger screen and look critically. Ask which shots feel sharp and alive, which photos of birds show clean separation from the background, and where your focus missed the eye or clipped the wings. These honest evaluations will guide your next practice session better than any generic list of photography tips.
Post processing is the final step that turns a good shot into a finished image. Basic adjustments to exposure, contrast, and colour can rescue slightly flat bird photos, while careful cropping helps you fill frame more effectively when your lens was just a bit short. For backyard bird photography for beginners, learning gentle noise reduction and subtle sharpening will keep your images natural while still highlighting feather detail.
As you gain confidence, you can explore more advanced techniques that also apply to other genres. Guides on how composite school photo sessions work for modern portrait photography show how multiple images can be combined thoughtfully, and similar thinking can inspire creative bird photography projects without misrepresenting behaviour. The key is always transparency with yourself about what is a single shot and what is a constructed image.
Over months of photographing birds in your yard, patterns will emerge. You will know when certain backyard birds visit, which perches they prefer, and which settings give you the highest keeper rate for different kinds of shots. A simple checklist before each session helps: charge batteries, clear memory cards, clean the front element, check shutter speed and ISO, and confirm that feeders and water are topped up. That quiet familiarity turns you from a casual bird photographer into someone who can reliably create a great bird image whenever the light and behaviour line up.
FAQ
What is the best shutter speed for backyard bird photography ?
For backyard bird photography for beginners, start around 1 over 1000 second for perched birds and 1 over 2000 second for birds in flight. These values usually freeze motion well when you are using a telephoto lens at typical backyard distances. If your images still show blur, raise shutter speed further and accept a higher ISO to protect sharpness.
Do I need a full frame camera for photographing birds ?
You do not need a full frame camera for strong bird photos in your yard. An APS C camera often helps because the crop factor effectively extends your telephoto reach, making it easier to fill frame with small birds. Full frame bodies offer better high ISO performance, but lens choice and fieldcraft usually matter more for backyard bird photography for beginners.
What focal length is good for backyard birds ?
A zoom lens that reaches at least 300 millimetres on APS C, or 400 millimetres on full frame, is a practical starting point for backyard birds. This range lets you keep a respectful distance while still capturing detailed images of a single bird on a perch. Longer lenses help, but careful perch placement and smart backgrounds can make a 300 millimetre lens feel surprisingly capable.
How can I get a clean background in my bird photos ?
Position your perch several metres in front of any busy background, then use a relatively wide aperture such as f 5.6 or f 6.3. The distance between the bird and the background, combined with that aperture, will blur distractions into a smooth wash of colour. Moving your shooting position by even one metre can dramatically change how clean the background appears in the final image.
Is post processing necessary for backyard bird photography ?
Post processing is not mandatory, but it helps refine your best shots. Simple adjustments to exposure, white balance, and cropping can turn a decent capture into a polished image that better matches what you saw. For backyard bird photography for beginners, learning a light touch in editing is usually more valuable than chasing complex effects.