Planning fall photography around foliage season and changing light
Peak fall foliage is a moving target, and the best photography rarely happens on the brightest blue sky day. Plan your trips around the broader foliage season instead, watching local reports so you can photograph early hints of fall color, the saturated peak, and the muted late phase. This approach will give you a variety of autumn images, from fresh green leaves edged with color to bare branches over carpets of foliage.
Check sunrise and sunset times so you can work the golden hour when the low light wraps gently around trees. During this warm window, fall colors gain depth and your camera will record richer tones with less harsh contrast across the scene. On overcast days the clouds act like a giant softbox, so photographing fall foliage under grey skies often produces more balanced exposure and smoother color fall transitions.
Do not fear light rain or mist, because wet leaves intensify color and reduce dusty glare across the image. A simple weather sealed camera body with a mid range zoom lets you keep shooting in a national park when others pack up, and you will come home with moody autumn photos that feel different from postcard sunshine images. Build a short checklist of photography tips and tips tricks in your phone, including reminders about checking white balance, watching your focal point, and bracketing exposure when the scene has bright sky and dark forest.
Choosing the right camera settings for fall foliage photography
Whatever camera you own, thoughtful settings matter more than the logo when you are photographing fall landscapes. Switch to aperture priority mode so you can control depth of field while the camera handles shutter speed, then keep an eye on iso to avoid noisy images in the shadows. For most foliage photography, an aperture between f/5 and f/8 balances sharpness across the scene with enough separation between foreground leaves and the background.
Start with iso 100 or 200 in bright autumn light, then raise iso carefully as the forest darkens or clouds roll in. Watch the shutter speed that your aperture priority choice produces, and avoid dropping below about 1/60 second unless you have image stabilization or a tripod. If the exposure time gets too long, either increase iso aperture together or open the aperture slightly to keep your fall photography crisp.
Set white balance to cloudy or shade to warm up the color of fall foliage, but shoot a test photo and adjust if skin tones or tree trunks look strange in the image. When you are mixing a wedding portrait with a blazing fall color background, accurate white balance keeps faces natural while still honoring the rich colors in the leaves. If your camera offers back button autofocus, learn how to use it with this guide to back button focus setup, because separating focus from the shutter button makes it easier to lock a focal point on a key tree and then reframe the scene.
Lenses, focal length, and filters that make fall colors pop
Your lens choice shapes how fall colors feel, whether you are shooting a sweeping valley or a single branch of leaves. A wide lens around 24 millimetres lets you place a strong foreground focal point, like a rock or log, against a broad scene of distant fall foliage on the hills. For tighter compositions, a standard zoom such as a 24 to 70 millimetre lens is ideal for isolating clusters of foliage or creating more intimate autumn images.
Telephoto lenses in the 70 to 200 millimetre range compress distance and stack layers of color fall across the frame. This look works beautifully in a national park where bands of trees at different elevations show distinct fall colors, and your photo will feel almost painterly. If you are still deciding what to carry, this guide to choosing the right camera for landscape photography and this article on selecting the right lens for landscapes give practical, non hype advice.
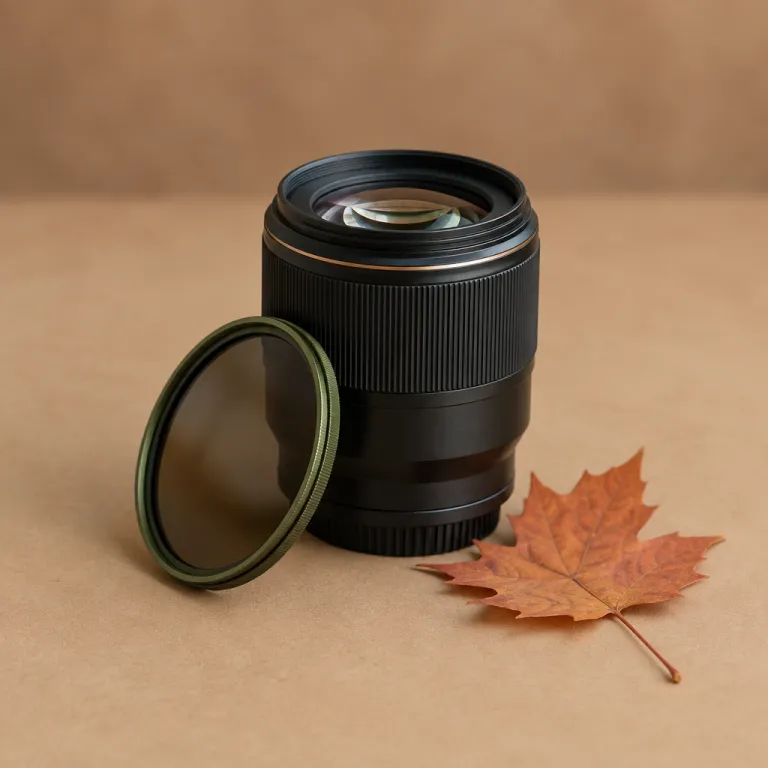
The single most useful accessory for foliage photography is a circular polarizer filter, because it cuts glare from wet leaves, deepens blue skies, and boosts color saturation without fake looking post processing. Rotate the circular polarizer while looking through the viewfinder until reflections on the leaves and water recede and the fall color intensifies, then recheck your exposure because the filter will usually cost you one to two stops of light. Combined with careful iso aperture choices and a steady hand, this filter helps your fall foliage photography tips translate into images that feel rich and dimensional straight out of the camera.
Composing autumn scenes and refining color in post processing
Strong composition turns raw fall colors into photographs that hold attention, whether you are shooting with a phone or a full frame camera. Look for leading lines like paths, fences, or streams that guide the eye through the scene, then place a clear focal point such as a lone tree or a cluster of bright leaves. Backlighting works especially well in autumn, because low light shining through foliage makes each leaf glow and adds depth to the image.
Experiment with depth of field by opening the aperture to blur a chaotic background, especially when you want a single branch of leaves to stand out against softer fall foliage. For grand landscapes, stop down slightly so that both the foreground and distant hills stay sharp, and check the edges of the frame for distractions that pull attention away from the main fall color story. Reflections in lakes or puddles can double the impact of the colors, so try flipping the camera vertically and letting the mirrored image fill most of the photo.
Once you are home, gentle post processing can refine what you saw without turning the scene into a cartoon. Nudge global saturation very lightly, then use selective tools to enhance specific fall colors while protecting neutral tones and sky, and always watch the histogram so you do not crush shadows or blow highlights. If you keep your edits restrained, your collection of autumn images will feel cohesive, and your fall photography from this foliage season will still look timeless when you scroll back through them years from now.
FAQ
What is the best time of day to photograph fall foliage ?
The best time of day for photographing fall foliage is usually the golden hour around sunrise and sunset. During this period the low angle light adds warmth and depth, which makes fall colors appear richer and more dimensional in your images. Midday can still work on overcast days, because the clouds soften contrast and help your camera capture subtle color fall transitions.
Which camera settings work well for autumn landscapes ?
For most autumn landscapes, start with aperture priority mode around f/5 to f/8, iso 100 to 400, and let the camera choose a safe shutter speed. Check that the exposure time stays fast enough to handhold, or use a tripod if it drops too low in dim forest light. Always review the histogram and adjust exposure compensation if the scene has bright sky and dark trees, because fall foliage can easily trick your meter.
Do I really need a circular polarizer for fall photography ?
You can shoot fall foliage without a circular polarizer, but this filter is one of the most effective tools for boosting color and reducing glare on leaves. It helps deepen blue skies, reveal detail in wet rocks or water, and generally makes fall colors look closer to what your eyes saw. If you only buy one filter for foliage photography, a good circular polarizer is the most versatile choice.
How should I handle white balance for accurate fall colors ?
Using the cloudy or shade white balance preset usually gives a pleasant warmth to fall foliage without making the image look unnatural. If you shoot in RAW format, you can fine tune white balance later in post processing while preserving detail in the leaves and sky. When people are in the frame, such as during a wedding portrait session in autumn, double check that skin tones still look natural after any white balance adjustment.
What focal lengths are most useful for photographing fall landscapes ?
Wide focal lengths around 16 to 24 millimetres are excellent for sweeping scenes that include foreground interest and distant hills. Standard zooms from 24 to 70 millimetres handle most general fall photography, from tree portraits to small groups of leaves. Telephoto focal lengths between 70 and 200 millimetres are ideal for isolating patches of fall color on a hillside or compressing layers of trees in a national park.