
Understanding hdmi to camera connections
Why HDMI Matters for Your Camera Setup
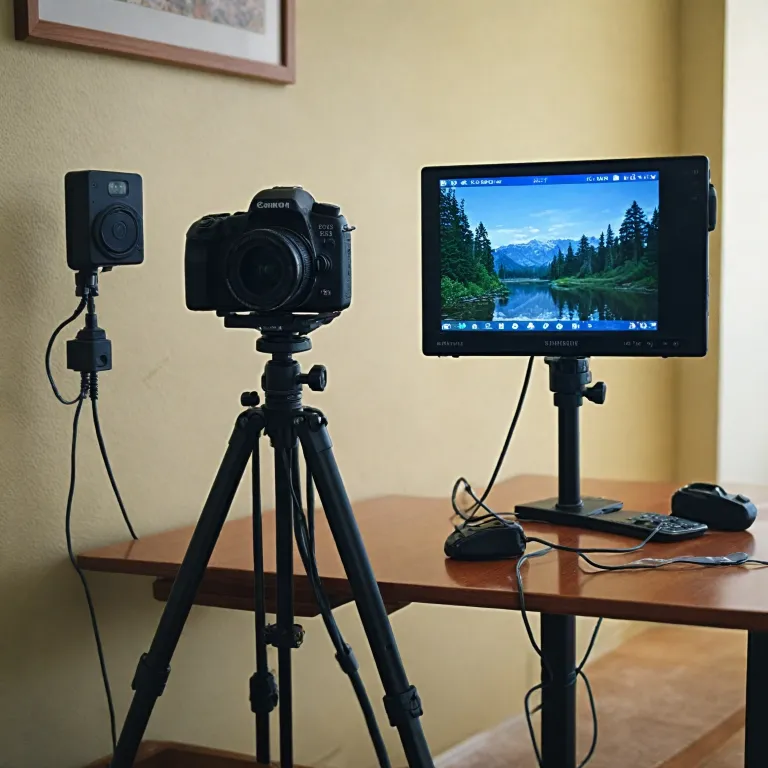
HDMI is a crucial connection for anyone looking to get the most out of their camera, whether you are streaming, recording, or just want a bigger, clearer view of your shots. HDMI cables allow you to send high quality video and audio from your camera directly to an external monitor, recorder, or even a TV. This can make a huge difference in your workflow, especially if you need to check focus, exposure, or framing in real time.
What Happens When You Connect Your Camera to a Monitor
When you connect your camera to a monitor using an HDMI cable, you instantly get a larger, more detailed view of your image. This is especially useful for video creators, photographers, and anyone using a PTZ camera or security camera system. The HDMI connection supports high speed data transfer, ensuring that your video and audio signals are crisp and free from lag. Many cameras today offer different types of HDMI ports, such as micro HDMI, mini HDMI, or standard HDMI, so it’s important to know which cable matches your camera’s connector.
Benefits of Using HDMI Over Other Connections
- High quality video and audio: HDMI cables support uncompressed signals, which means you get the best possible image and sound from your camera.
- Reliability: HDMI connectors are designed for secure, stable connections, reducing the risk of dropped signals compared to some USB or wireless options.
- Versatility: You can use HDMI to connect your camera to a wide range of displays, from professional monitors to affordable TVs, and even external recorders for advanced workflows.
What You Need to Get Started
To connect your camera to a monitor, you’ll need the right HDMI cable for your camera’s port type (micro HDMI, mini HDMI, or standard HDMI), and a compatible monitor or recorder. It’s worth checking product descriptions and customer reviews to ensure you’re choosing high quality cables and connectors that support your camera’s video output. Some users prefer cables with gold-plated connectors for added durability and signal quality. If you’re looking for a worry-free shooting experience, consider securing your camera setup with a camera bungee to protect your gear during shoots.
Understanding these basics will help you make informed decisions about which cables and monitors to choose, and how to troubleshoot common issues as you set up your camera HDMI workflow.
Types of HDMI ports and cables for cameras
Understanding HDMI Port Sizes and Cable Types
When connecting your camera to a monitor, knowing which HDMI port and cable type you need is essential. Cameras can feature different HDMI connectors, and using the wrong cable can lead to compatibility issues or even damage. Here’s a breakdown of the most common HDMI connectors found on cameras:
- Standard HDMI (Type A): This is the full-size HDMI port, often found on larger cameras and camcorders. It supports high quality video and audio transmission.
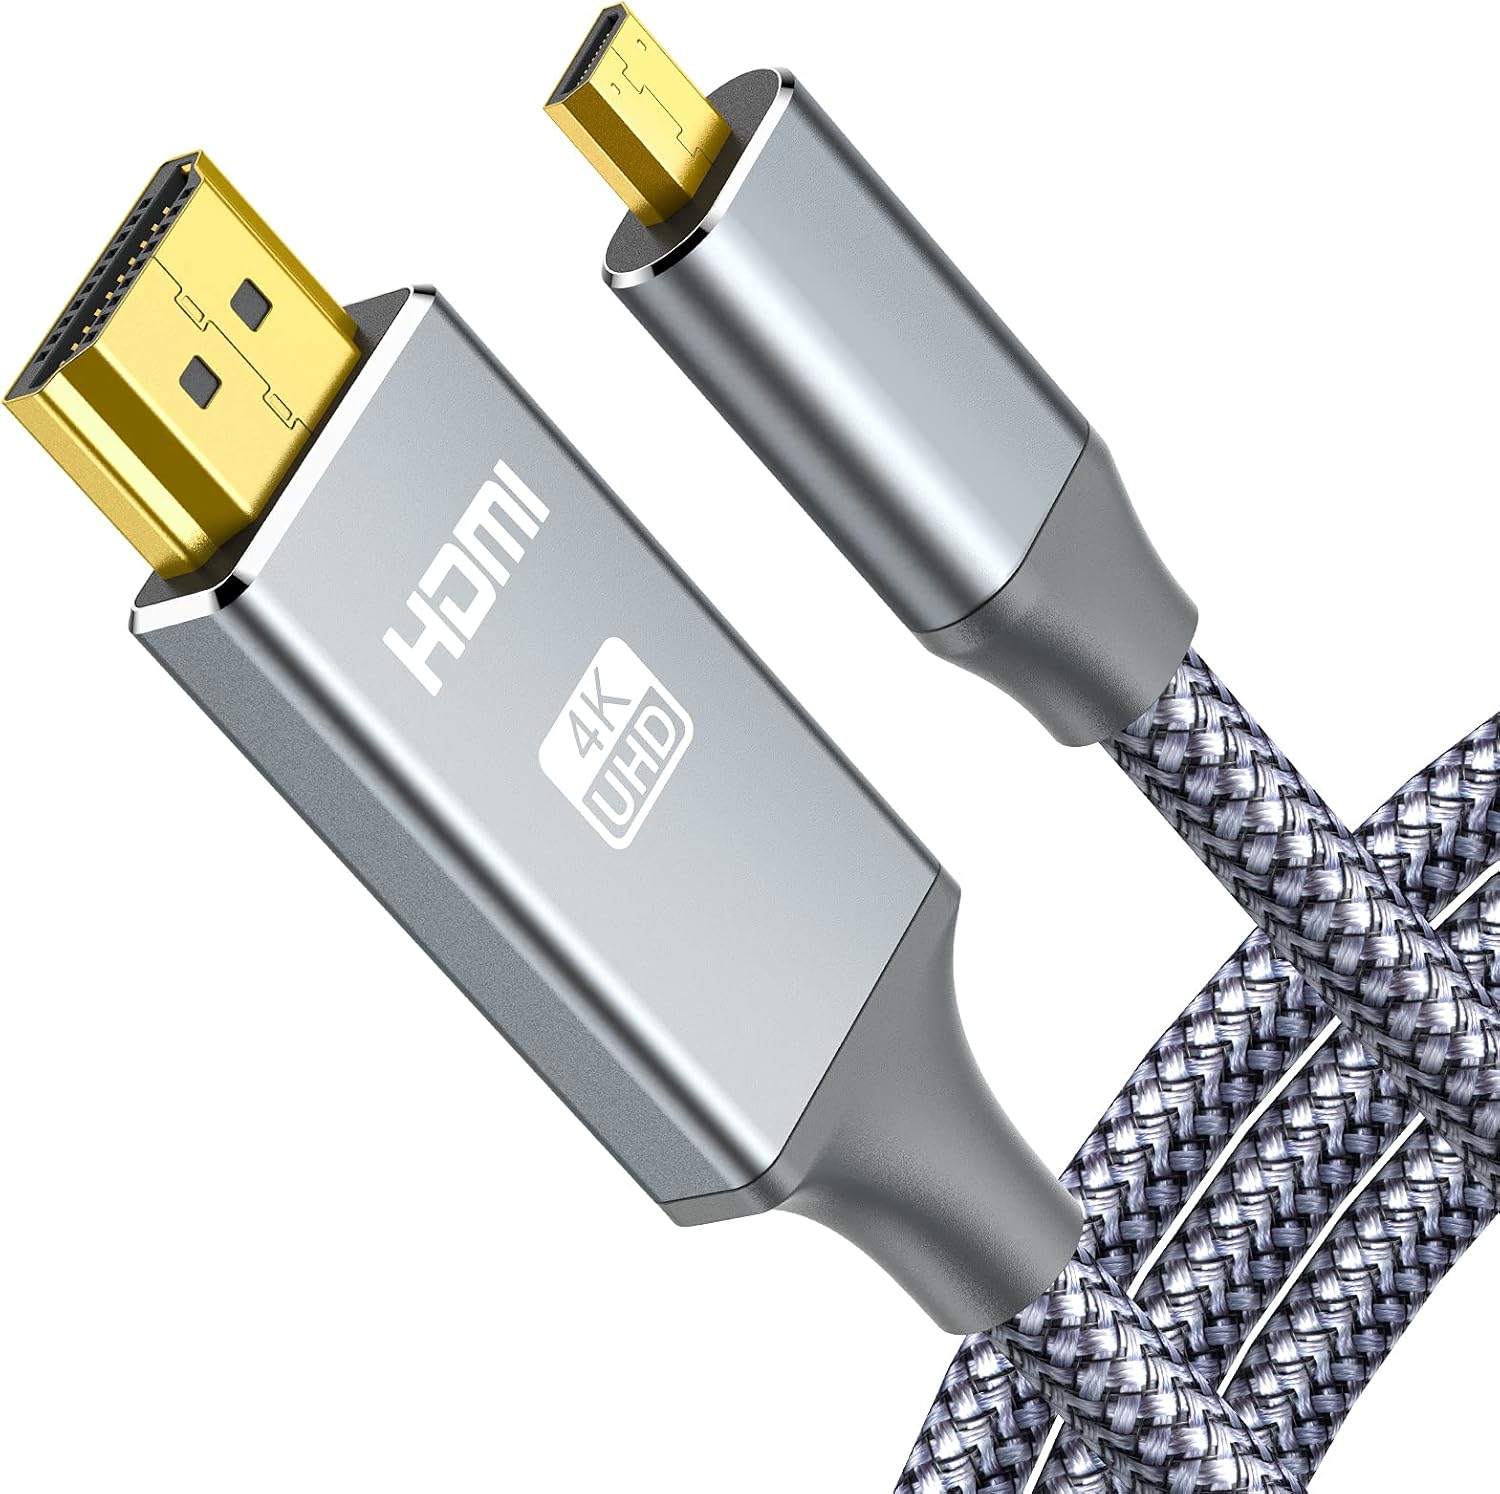
- Mini HDMI (Type C): Many mirrorless and DSLR cameras use this smaller connector. You’ll need a mini HDMI cable or an adapter to connect to a standard HDMI monitor.
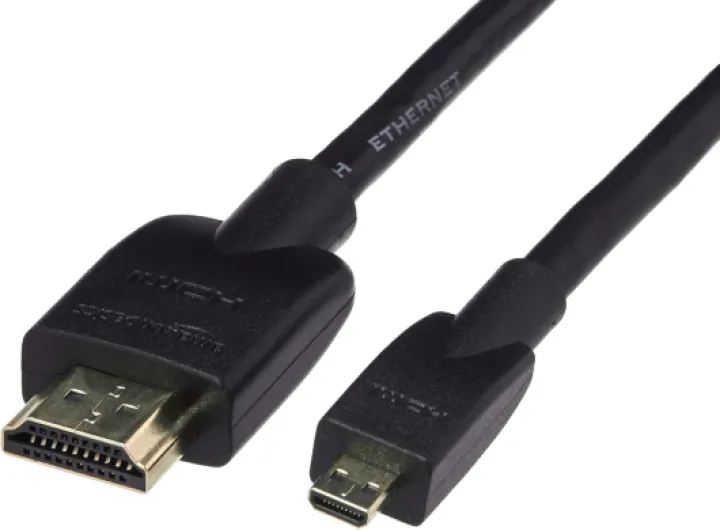
- Micro HDMI (Type D): Compact cameras and some action cams use this tiny port. A micro HDMI cable is required, and it’s important to choose a high speed cable for reliable video audio transfer.
Always check your camera’s manual or product description to identify the correct HDMI port. If you’re unsure, look for customer reviews or product reviews mentioning cable compatibility for your specific camera model.
Choosing the Right HDMI Cable for Your Camera
Not all HDMI cables are created equal. The right cable ensures stable video and audio output, especially for 4K or high frame rate recording. Here are some factors to consider:
- Length: Longer cables can introduce signal loss. For most setups, a cable under 2 meters is ideal.
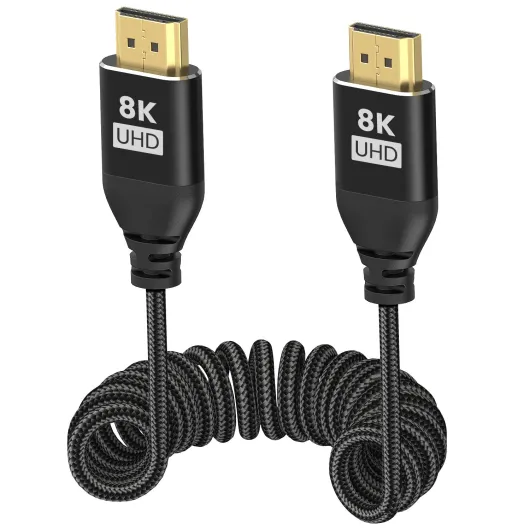
- Build Quality: Look for high quality connectors and durable cable black sheathing. Some cables are labeled as high speed or ultra high speed, which are suitable for demanding video formats.
- Connector Type: Make sure the cable matches your camera’s HDMI port—mini HDMI, micro HDMI, or standard HDMI.
- Additional Features: Some cables support Ethernet or have reinforced connectors for frequent plugging and unplugging, which is useful for PTZ camera or security camera setups.
For those who need to connect a camera to a USB port on a monitor or computer, HDMI to USB adapters are available. However, these may not always support real-time video audio transmission, so check product reviews and the manufacturer’s specifications.
Comparing Prices and Customer Feedback
HDMI cables and adapters come in a wide price range. While it’s tempting to go for the cheapest option, investing in a reliable cable can save you trouble down the line. Look for products with high star ratings and positive customer reviews. Some retailers offer free shipping or bundled deals with other camera accessories, which can be a bonus.
For more guidance on pairing your camera setup with the right accessories, check out this resource on how to choose the right tripod camera attachment plate.
Setting up your camera for HDMI output
Preparing Your Camera for HDMI Output
Before connecting your camera to a monitor, it’s important to make sure your camera is set up correctly for HDMI output. Most modern cameras support HDMI connections, but the process can vary depending on the camera model and the type of HDMI port it uses, such as micro HDMI, mini HDMI, or standard HDMI. Always check your camera’s manual for specific instructions and supported video resolutions.
- Locate the HDMI port: Find the HDMI, micro HDMI, or mini HDMI port on your camera. Some cameras label these as ‘HDMI OUT’ or use icons. If you’re using a PTZ camera or a security camera, the port may be located on the back or side panel.
- Choose the right cable: Select a high quality HDMI cable that matches your camera’s port type. For example, a micro HDMI to HDMI cable is needed for cameras with a micro HDMI connector. Using the correct cable ensures stable video and audio transmission to your monitor.
- Connect the cable: Plug one end of the HDMI cable into your camera and the other end into your monitor or external recorder. For longer distances, opt for high speed HDMI cables to maintain signal quality.
- Adjust camera settings: Access your camera’s menu and set the HDMI output mode. Some cameras allow you to select the video resolution, frame rate, and whether to display camera information (like settings overlays) on the external monitor. For clean video output, disable on-screen displays if your camera supports it.
- Power considerations: Continuous video output can drain your camera’s battery quickly. If possible, use an AC adapter or a dummy battery for longer sessions, especially when using your camera for live streaming or product photography.
When setting up your camera for HDMI output, consider the type of monitor or recorder you’re connecting to. Some monitors support 4K video, while others only handle 1080p. Matching your camera’s output to your monitor’s capabilities ensures the best image quality. For those interested in optimizing their setup for product photography, pairing the right lens with a high quality external monitor can make a significant difference.
Don’t forget to check customer reviews and product descriptions when selecting HDMI cables and monitors. Look for cables that support video audio transmission and have reliable connectors. Some top-rated cables are labeled as ‘cable black’ or ‘usb hdmi’ for added versatility. Investing in the right accessories can help you connect your camera seamlessly and avoid common issues.
Choosing the right external display or recorder
What to Look for in an External Display or Recorder
When connecting your camera to a monitor using HDMI, choosing the right external display or recorder can make a big difference in your workflow. Not all monitors or recorders are created equal, and the right choice depends on your camera, the type of HDMI output, and your shooting needs.
- Compatibility: Check if the monitor or recorder supports the HDMI output of your camera. Some cameras use micro HDMI or mini HDMI connectors, so make sure the device has the right ports or includes the necessary adapters or cables.
- Resolution and Color Accuracy: For video work, high quality displays with accurate color reproduction are essential. Look for monitors that support the same resolution and frame rate as your camera's HDMI output.
- Input Options: Some monitors offer multiple HDMI inputs, USB HDMI, or even SDI for more flexibility. This is useful if you plan to connect more than one camera or want to switch between sources.
- Portability and Power: Consider the size and weight of the monitor, especially for on-location shoots. Battery-powered options or those that support USB power can be more convenient.
- Recording Features: If you need to record video externally, look for recorders that support high speed video audio capture and offer reliable storage options. Some models also provide free software for video management.
- Customer Reviews and Ratings: Before buying, check customer reviews and product descriptions. Look for top rated models with high stars and positive feedback about build quality, connectors, and ease of use.
- Price and Value: Compare the price and features. Sometimes, a mid-range monitor with solid reviews and the right connectors cable is a better investment than a high-end model with features you won't use.
Comparison Table: Popular External Monitors and Recorders
| Product | HDMI Type | Resolution | Supports | Price Range | Customer Reviews |
|---|---|---|---|---|---|
| Feelworld F6 Plus | Full, Mini, Micro HDMI | 1920x1080 | Video Audio, USB HDMI | $$ | 4.5 stars |
| Atomos Ninja V | Full HDMI | 4K | Recording, High Speed | $$$ | 4.7 stars |
| SmallHD Focus | Micro HDMI | 1280x720 | Camera HDMI, PTZ Camera | $$ | 4.4 stars |
Always double-check the connectors and cable compatibility between your camera and the monitor or recorder. Using the right HDMI cable, whether it's mini HDMI, micro HDMI, or standard, ensures a stable video signal and reduces the risk of connection issues. For security camera setups or PTZ camera systems, look for monitors that support multiple video sources and have robust connectors cable options.
Troubleshooting common hdmi to camera issues
Common HDMI Connection Problems and How to Fix Them
Connecting your camera to a monitor using HDMI can sometimes be tricky. Here are some frequent issues and practical solutions to help you get a stable video signal and reliable performance.- No Signal on Monitor
Double-check that your HDMI cable is fully inserted into both the camera and the monitor. Some cameras require you to enable HDMI output in the menu settings. Also, make sure you are using the correct type of cable—micro HDMI, mini HDMI, or standard HDMI—matching the camera's port. If your monitor has multiple HDMI inputs, confirm you have selected the right one. - Video or Audio Not Displaying Properly
Not all HDMI cables support both video and audio. For cameras with video audio output, use a high quality cable that supports both signals. If you only see video but no sound, check your camera’s audio output settings and the monitor’s volume controls. - Image Flickering or Dropouts
Low quality or damaged HDMI cables can cause flickering or intermittent signal loss. Try swapping in a high speed HDMI cable, and avoid running cables longer than necessary. For longer runs, look for cables rated for high speed and signal integrity. - Wrong Resolution or Aspect Ratio
Some monitors may not support all resolutions output by your camera. Adjust the camera’s HDMI output settings to match the monitor’s supported formats. Refer to your camera’s description and product documentation for details on supported resolutions. - Loose Connectors
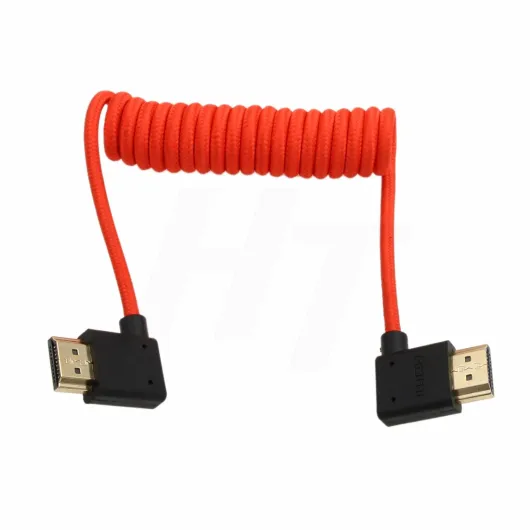
Micro HDMI and mini HDMI connectors are smaller and can be less secure than standard HDMI. Use cables with snug connectors, and avoid moving the camera while connected. For PTZ camera setups or security camera installations, consider cable management solutions to prevent accidental disconnects.
Quick Tips for Reliable HDMI Connections
- Always use high quality HDMI cables with positive customer reviews and a solid product rating (look for 4 stars or higher).
- Check the cable length and type—mini HDMI, micro HDMI, or standard HDMI—to match your camera and monitor.
- If you need to connect your camera to a computer, use a USB HDMI capture device for compatibility.
- For security camera or PTZ camera systems, use cables rated for continuous use and secure connectors cable options.
- Keep spare cables on hand in case of failure, and label your cables for quick identification.
Most connection issues can be resolved by checking your cables, connectors, and settings. If problems persist, consult the camera’s manual or reach out to the manufacturer’s support for guidance. Reliable HDMI connections are essential for a smooth workflow, whether you’re monitoring live video, recording externally, or using your camera for streaming.
Tips for optimizing your hdmi to camera workflow
Fine-tuning Your HDMI Workflow for Better Results
- Use high quality HDMI cables — Not all cables are created equal. For stable video and audio transmission, choose cables that support the resolution and frame rate your camera outputs. Look for cables labeled as "high speed" or "premium" and check customer reviews for reliability. If your camera uses a micro HDMI or mini HDMI port, make sure the cable matches the connector type.
- Secure your connections — Loose connectors can cause signal dropouts or flickering. Use cable clips or ties to prevent accidental unplugging, especially if you move your camera during shooting. For PTZ cameras or security camera setups, this is even more important.
- Check compatibility between camera and monitor — Some monitors or recorders may not support every video format your camera offers. Double-check the supported resolutions and refresh rates in the product description or user manual. If your monitor has both HDMI and USB inputs, compare which gives better results for your workflow.
- Keep cable length in mind — Longer HDMI cables can introduce signal loss, especially with lower quality cables. For most camera to monitor setups, try to keep cable length under 10 feet (about 3 meters) unless you are using active or amplified cables.
- Label your cables and connectors — If you use multiple cameras or monitors, labeling helps you quickly identify the right cable, especially when dealing with mini HDMI, micro HDMI, or standard HDMI connectors. This reduces setup time and confusion.
- Update firmware regularly — Both cameras and monitors sometimes receive firmware updates that improve HDMI compatibility or add new features. Check the manufacturer's website for free updates and follow their instructions for installation.
- Monitor your video signal — Use the monitor’s on-screen display or built-in tools to check signal quality. Some monitors show if the signal is 4K, HD, or if there are audio issues. This helps you catch problems early before recording or streaming.
- Read product reviews — Before buying new HDMI cables, adapters, or monitors, check top customer reviews. Look for feedback on durability, compatibility with specific camera models, and real-world performance.
Optimizing your HDMI workflow is about more than just connecting a cable. Paying attention to cable type, connectors, and product compatibility ensures your camera setup delivers reliable, high quality video and audio every time.