
Understanding the xlr female to 3.5mm connection
How XLR Female Microphones Connect to 3.5mm Inputs
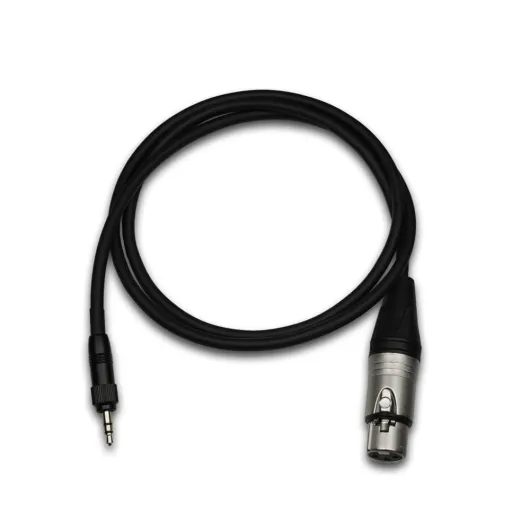
Connecting a professional microphone with an XLR female connector to a digital camera’s 3.5mm input might seem tricky at first. These two audio cable types serve different purposes and are designed for different environments. XLR cables, especially those with a female straight connector, are standard in professional audio setups. They offer robust support for balanced audio signals, which helps reduce noise and interference. On the other hand, most digital cameras use a 3.5mm TRS male input for microphones, which is more common in consumer tech products.
Understanding the Key Differences
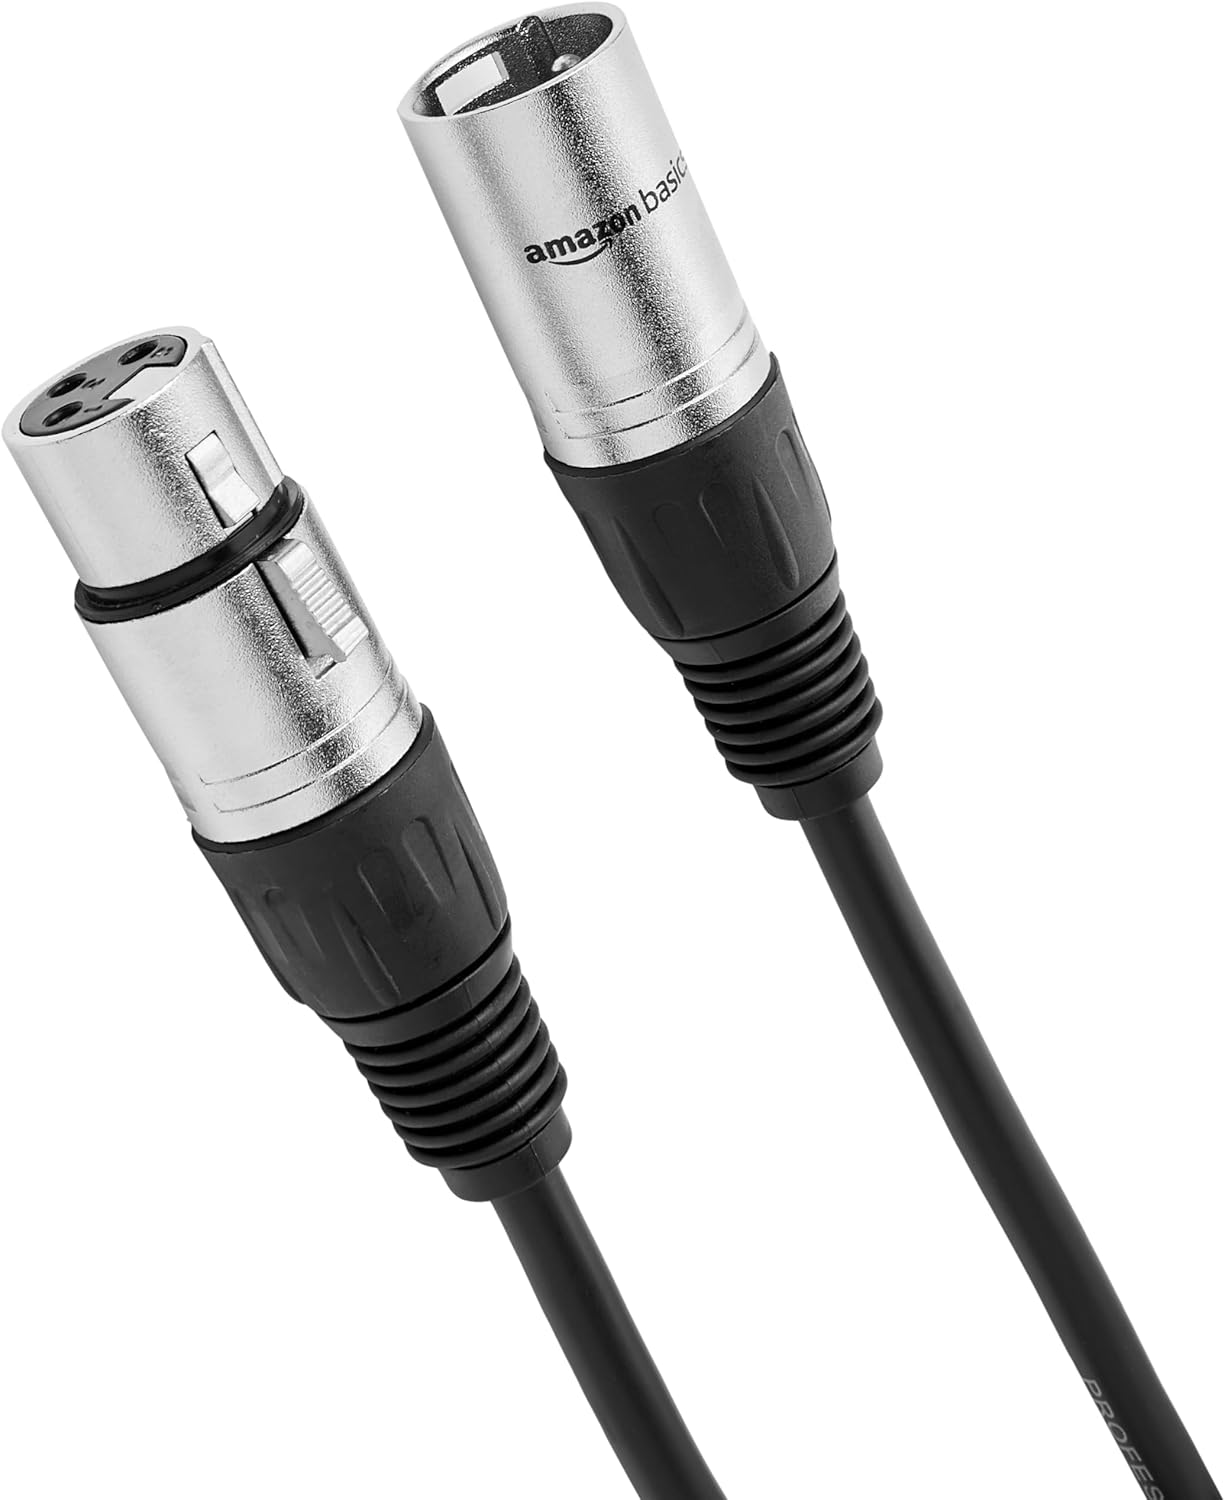
- XLR Female: Typically used for microphones, this connector has three pins (known as xlr pin or pin xlr) and is designed for balanced audio transmission. The female straight end connects to the microphone, while the xlr male end connects to mixers or recorders.
- 3.5mm TRS Male: This is the standard input on most digital cameras. TRS stands for Tip-Ring-Sleeve, referring to the three contact points on the plug. It’s less robust than XLR but widely supported in portable devices.
Why the Right Cable Matters
To bridge the gap between these two connector types, you need a specific adapter or cable type: an XLR female to 3.5mm TRS male audio cable. The length cable you choose can also affect your setup, especially if you need flexibility in positioning your microphone. Not all adapters are created equal, so it’s important to check the product warranty and compatibility before purchase. Some adapters may not fully support phantom power or balanced audio, which can impact your recording quality.
Common Questions About XLR to 3.5mm Connections
- Will my camera support professional audio from an XLR microphone?
- What type of cable or adapter do I need for my setup?
- Are there any potential issues with signal loss or interference?
If you’re looking for more details on camera compatibility and features, you might find this guide on choosing the right camera with a hot shoe useful. It covers essential tech considerations for audio and accessory support.
In the next sections, we’ll explore why professional audio matters for your digital camera, how to choose the right adapter, and practical tips for setup. Feel free to share your questions or experiences in the comments or via Facebook share and Twitter share buttons below. Your input helps others make informed purchase decisions and get the most from their audio xlr setup.
Why use professional microphones with digital cameras
Why Professional Microphones Matter for Camera Audio
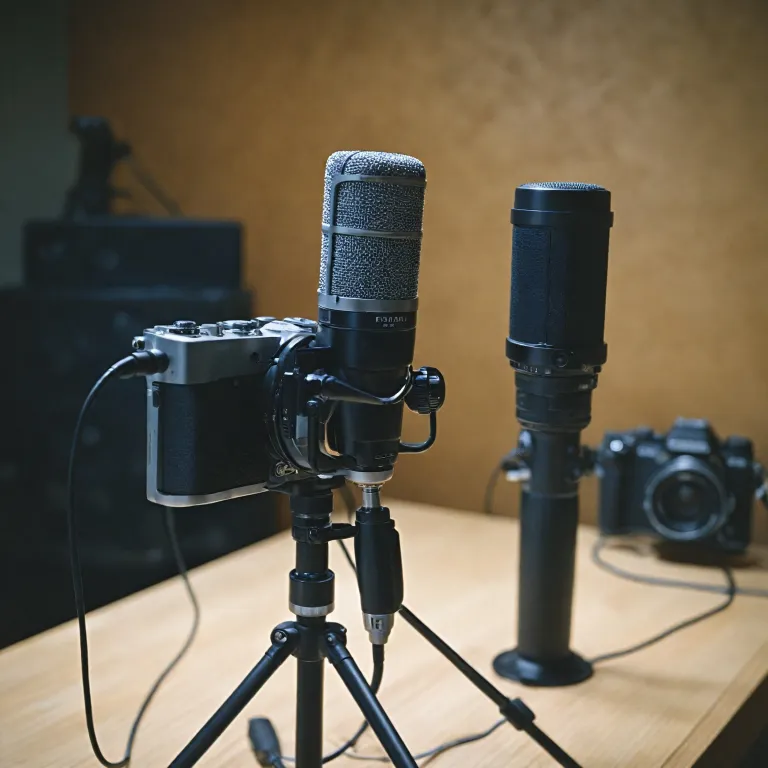
When capturing video with a digital camera, audio quality can make or break your project. Built-in microphones often pick up unwanted noise and lack the depth needed for professional results. This is where using an XLR female microphone with your camera comes in. XLR audio cables and connectors are the standard in professional audio, offering balanced signals and reducing interference. The robust design of an XLR cable, with its three-pin (pin xlr) configuration, ensures a secure connection and clear sound.
- Audio quality: XLR microphones deliver cleaner, richer sound compared to most built-in or consumer-grade mics. The balanced audio xlr signal helps eliminate hum and buzz, especially over longer cable lengths.
- Durability: XLR female and male connectors are built for repeated use, making them ideal for fieldwork or studio setups. The locking mechanism on the female straight connector prevents accidental disconnection.
- Versatility: Many professional microphones use the xlr female output, which can be adapted to a 3.5mm input on your camera using the right audio cable. This allows you to use a wide range of microphones, from handheld interview mics to shotgun types for directional audio capture.
- Support for accessories: XLR audio setups often support additional gear like external recorders, mixers, and phantom power supplies, expanding your creative options.
Choosing the right cable type and adapter is crucial for maintaining audio quality. The connection between xlr female and trs male (tip-ring-sleeve) plugs must be secure and compatible with your camera’s input. If you have questions about which product or length cable to purchase, check the warranty and support information before making a decision. For more on professional audio gear, you might find our guide to macro photography accessories helpful.
Remember, sharing your experience or asking for help on platforms like Facebook share or Twitter share can connect you with a community of creators. Whether you’re signing up for a free account to join a tech forum or looking for advice on a specific xlr pin configuration, don’t hesitate to reach out and share your questions.
Compatibility concerns and potential issues
Common Compatibility Challenges with XLR to 3.5mm Connections
Connecting an XLR female microphone to a 3.5mm input on your digital camera is not always as simple as plugging in a cable. The main content here revolves around understanding the technical differences between professional audio gear and consumer camera inputs. These differences can affect audio quality, reliability, and even the safety of your equipment.
- Balanced vs. Unbalanced Signals: XLR audio cables typically carry balanced signals, which help reduce noise and interference. Most 3.5mm inputs on cameras, however, are unbalanced (TRS or TS type). This mismatch can introduce unwanted hum or hiss, especially with longer cable lengths.
- Pin Configuration: XLR connectors use a three-pin (pin xlr) system, while 3.5mm jacks use two or three connections (TRS male). If the adapter or cable type does not correctly map the XLR pin female to the right contacts on the 3.5mm plug, you may get weak audio, only one channel, or no sound at all.
- Phantom Power Issues: Professional microphones often require phantom power, which is supplied through the XLR cable. Most digital cameras with a 3.5mm input do not provide this support, so condenser microphones may not work unless you use an external power source.
- Impedance and Level Mismatch: XLR microphones are designed for professional audio equipment with higher input impedance and different signal levels than most camera mic inputs. This can result in low volume or distorted sound if not addressed with the right product or adapter.
- Physical Fit and Durability: The female straight XLR connector is robust, while the 3.5mm input is more fragile. Using a heavy or long xlr cable can stress the camera's input jack, risking damage over time.
Before you purchase any adapter or audio cable, check the warranty and product specifications. Some adapters are designed specifically for certain camera models or microphone types, so always ask questions or seek help from tech support if you are unsure. Many brands offer free support and have active communities where you can share experiences or get advice. You can also use your account on platforms like Facebook to join groups and discuss compatibility concerns.
For those considering more advanced setups, powering professional audio gear with gold mount batteries can be a solution, especially for field recording where reliable power is crucial.
If you have further questions or want to share your experience, use the comment section or share on Facebook and Twitter. Your feedback helps others navigate the challenges of connecting XLR female microphones to digital cameras.
Choosing the right xlr female to 3.5mm adapter
Key factors when selecting your XLR to 3.5mm adapter
Choosing the right XLR female to 3.5mm adapter is crucial for achieving professional audio quality with your digital camera. Not all adapters are created equal, and the wrong cable type or connector can introduce noise, compatibility issues, or even damage your equipment. Here are some important points to consider:
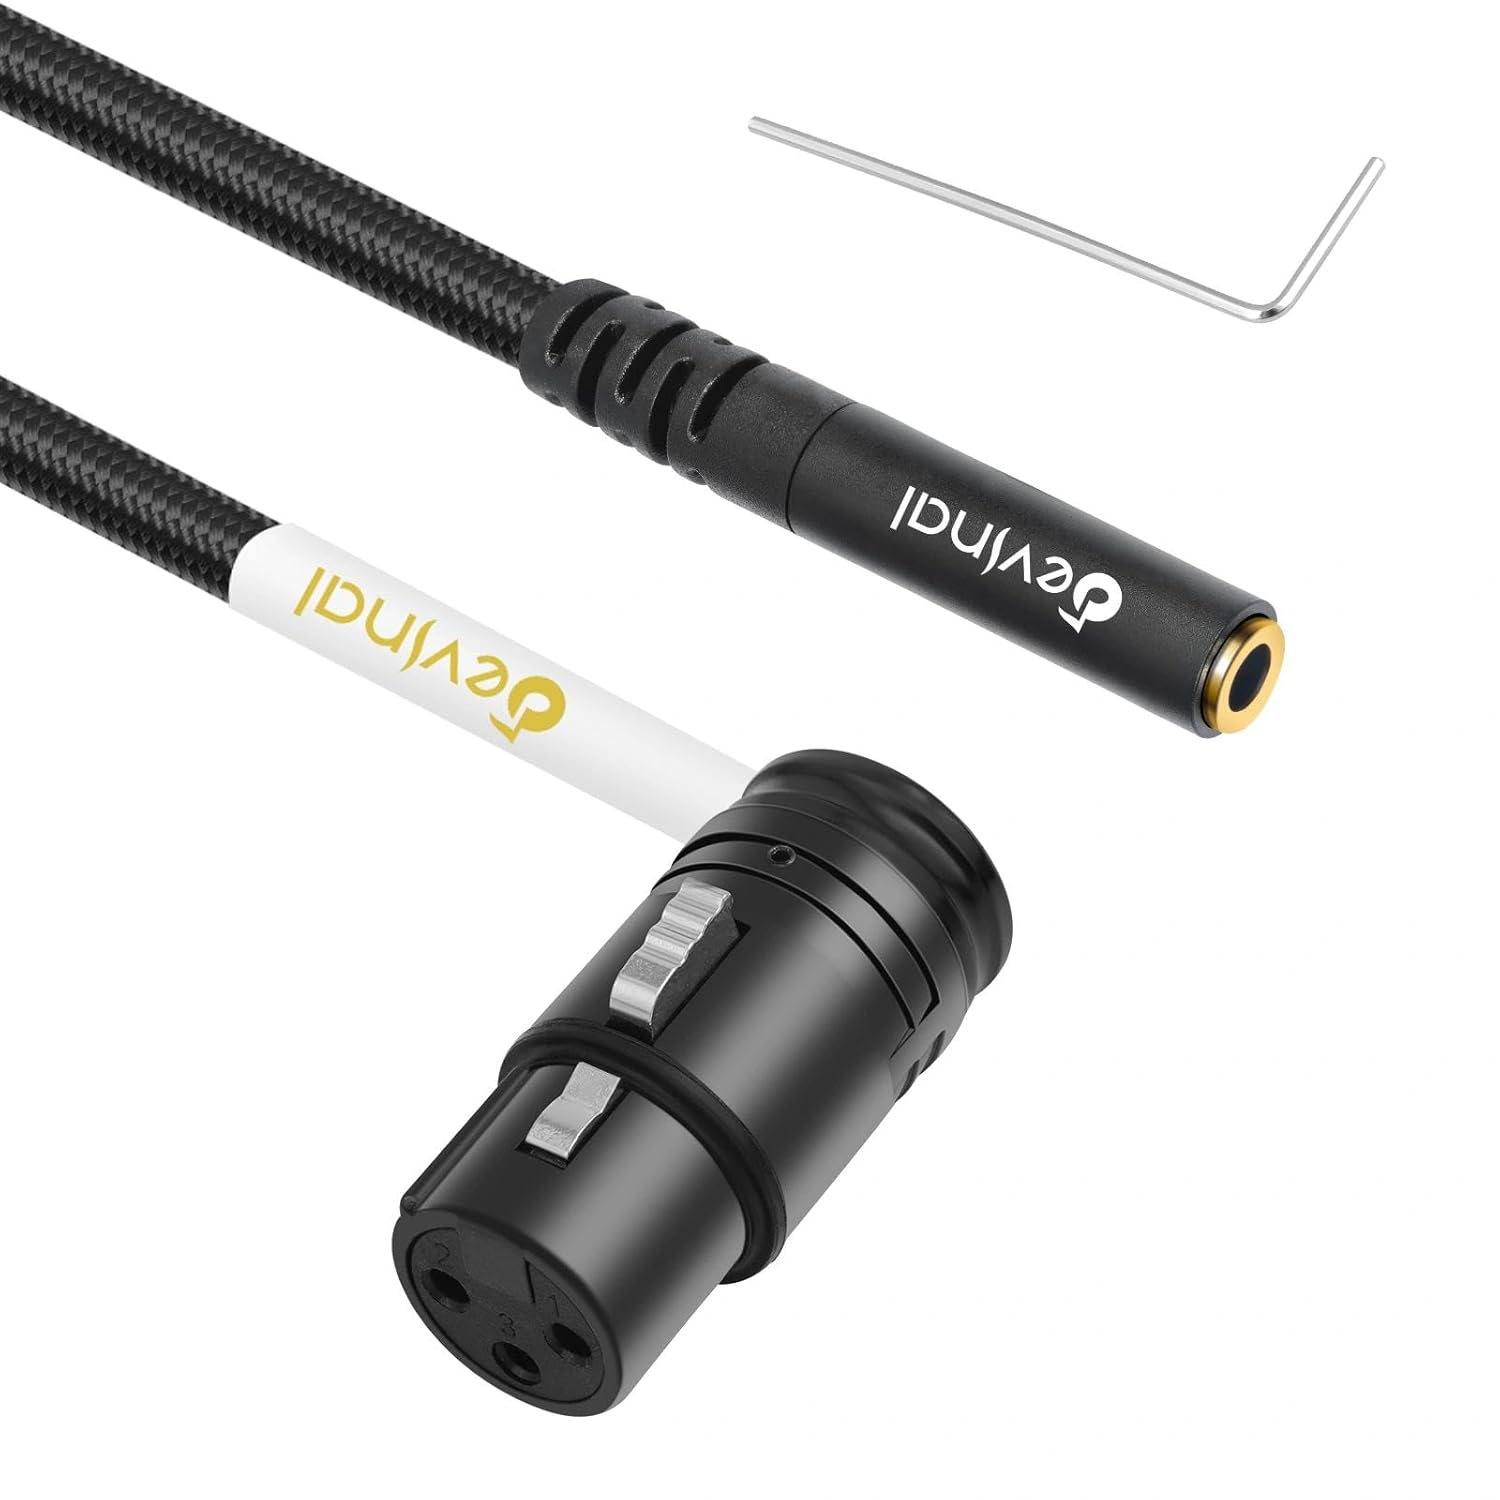
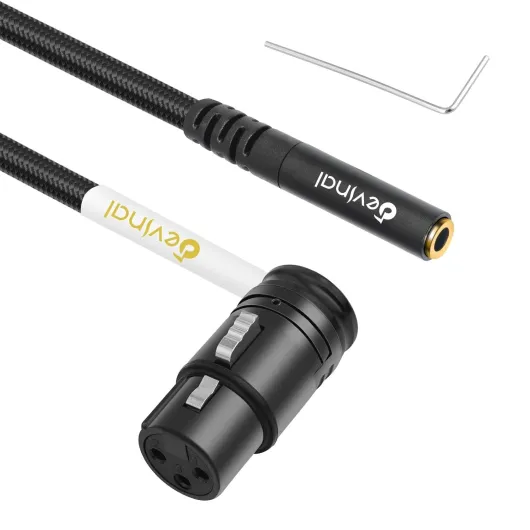
- Connector types: Make sure you are using an XLR female connector on the microphone end and a 3.5mm TRS male plug for your camera input. The XLR female straight connector is standard for most professional microphones, while the 3.5mm TRS male is common for camera audio inputs.
- Pin configuration: Check the XLR pin layout. Most professional audio cables use a 3-pin XLR, but always confirm the pin female and pin XLR arrangement to ensure proper signal flow. Incorrect pin wiring can result in no audio or distorted sound.
- Cable quality and length: The length cable can affect signal integrity. For best results, use a high-quality XLR audio cable with shielding to minimize interference. Shorter cables generally provide cleaner audio, but choose a length that supports your setup needs.
- Balanced vs. unbalanced: XLR cables are typically balanced, while most 3.5mm inputs are unbalanced. Some adapters include circuitry to convert the signal, but not all do. Using a product designed for this conversion helps reduce hum and noise.
- Product support and warranty: Look for adapters from reputable brands that offer product warranty and customer help. This can be especially important if you have questions about compatibility or need support after purchase.
What to look for in a reliable adapter
- Clear labeling of XLR female and 3.5mm TRS male ends
- Solid build quality for frequent use in professional audio environments
- Documentation or tech support to answer your questions
- Options to share feedback or get help, such as a support account or Facebook share page
- Free returns or exchanges in case the adapter does not fit your camera or microphone
Before you purchase, check the compatibility of your microphone and camera input. If you are unsure, reach out to the product’s support team or consult user reviews. Sharing your experience on platforms like Facebook share or Twitter share can also help others in the community make informed decisions about their audio xlr setup.
Practical setup tips for better audio recording
Setting Up Your XLR Microphone for Optimal Audio
Getting the best audio from your XLR female microphone when connecting to a 3.5mm input on your digital camera involves more than just plugging in a cable. Here are some practical tips to help you achieve professional audio results and avoid common pitfalls:
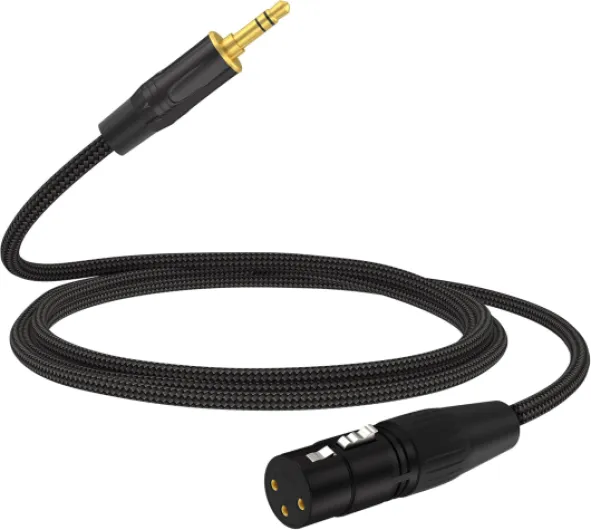
- Choose the right cable type: Use a high-quality XLR female to TRS male audio cable. This ensures proper signal transfer and reduces unwanted noise. Make sure the cable length is appropriate for your setup—too long can introduce interference, too short can limit mobility.
- Check pin configuration: The XLR female connector typically has three pins. Ensure your adapter or cable matches the pinout required by your camera’s 3.5mm input. A mismatch can result in weak or no audio signal.
- Secure connections: Firmly connect the XLR female end to your microphone and the TRS male end to your camera. Loose connections can cause crackling or intermittent audio loss.
- Monitor audio levels: Use your camera’s audio monitoring features, if available. Watch the audio meters to avoid clipping or distortion. If your camera supports headphone monitoring, listen for background noise or hum.
- Support and warranty: If you experience persistent issues, check the product warranty or contact the manufacturer for help. Many brands offer support for questions about cable compatibility or troubleshooting.
- Share your experience: If you find a cable or adapter that works well, consider sharing your feedback on tech forums or through social media like Facebook share or Twitter share. This helps others in the community make informed purchase decisions.
Extra Tips for Professional Audio Results
- Use a balanced XLR audio cable to minimize interference, especially in environments with lots of electronic equipment.
- If your microphone requires phantom power, make sure your camera or an external audio interface can supply it. Most 3.5mm inputs do not provide phantom power, so a separate device may be needed.
- Label your cables and adapters, especially if you have multiple types (XLR male, female straight, TRS male) to avoid confusion during setup.
By following these steps, you can maximize the quality of your audio recordings and ensure your professional audio gear integrates smoothly with your digital camera. If you have further questions, don’t hesitate to reach out to the product’s support team or join online tech communities for additional help.
Alternatives to direct xlr to 3.5mm connection
Exploring Other Audio Connection Methods
While connecting an XLR female microphone directly to a 3.5mm input is a common approach, there are alternative solutions that may offer better audio quality, flexibility, or compatibility with your digital camera setup. Understanding these options can help you choose the best method for your needs, especially if you encounter issues with adapters or cable type limitations.
- External Audio Recorders: Many professionals use dedicated audio recorders that support XLR inputs. These devices capture high-quality audio independently from your camera. After recording, you can sync the audio with your video in post-production. This method avoids potential problems with mismatched pin configurations or insufficient power supply from the camera's 3.5mm input.
- Audio Interfaces and Mixers: Portable audio interfaces or compact mixers with XLR female and XLR male inputs can bridge the gap between professional microphones and consumer cameras. These products often provide phantom power, better gain control, and improved audio support. Some models output directly to a 3.5mm TRS male cable, making them compatible with most camera inputs.
- Wireless Microphone Systems: Wireless systems designed for professional audio often include transmitters with XLR female connectors and receivers with 3.5mm TRS outputs. This setup allows for greater mobility and reduces cable length restrictions, which is especially useful for interviews or event coverage.
- Camera-Specific Audio Adapters: Some brands offer proprietary adapters that ensure proper pin alignment and audio signal conversion. These adapters are designed to work seamlessly with your camera model, reducing the risk of compatibility issues and providing additional features like gain adjustment or monitoring.
When considering these alternatives, always check the product warranty and support options before purchase. If you have questions about which audio cable or adapter is best for your setup, consult the manufacturer's documentation or reach out to tech support. Sharing your experiences or questions on platforms like Facebook or Twitter can also help you connect with others who have tackled similar challenges. Don't forget to check if your account is eligible for free support or product updates.
Choosing the right audio solution is about more than just matching connectors—it's about ensuring reliable, professional audio for your digital camera projects. If you need help deciding which cable type or adapter to use, look for detailed product reviews and user feedback to guide your purchase.