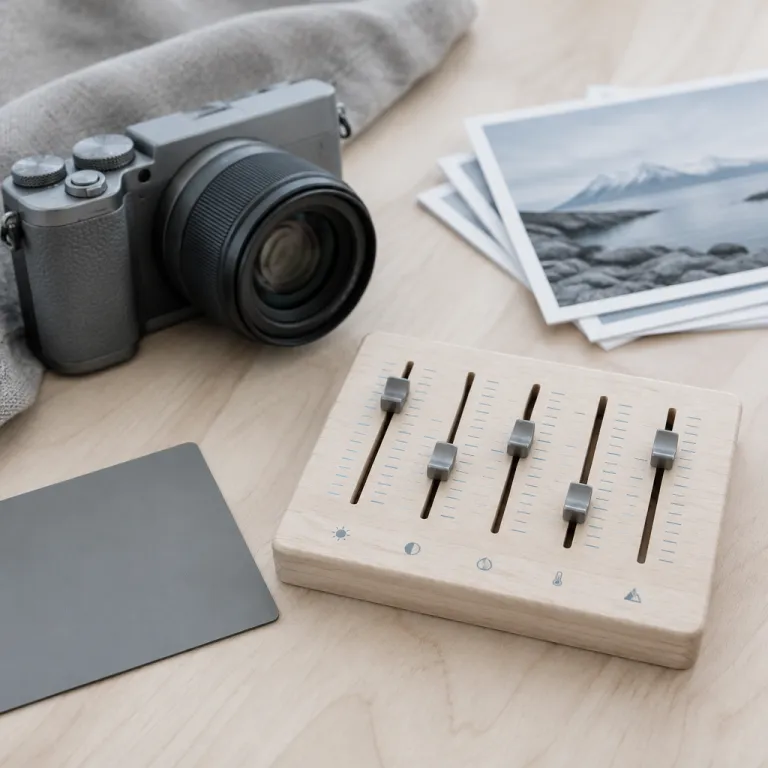
Why editing is finishing the photo, not faking it
Lightroom basics for beginners start long before you touch a slider. Your mindset will shape every image you bring from the camera into Adobe Lightroom, because editing is simply the digital version of what darkroom printers did with film photos. Think of each edit as a gentle nudge toward what your eye saw, not a special effect layered on top of the original image.
When you open Lightroom for the first time, the wall of controls in the Library Module and the Develop Module can feel like cockpit switches on a jet. The truth is that a small set of basic tools will carry most of your photo editing, and a simple workflow will keep your edits consistent from one session to the next. As a beginner you are not trying to compete with studio retouchers, you are just learning how to guide Lightroom so that your photos match your memory of the scene.
Start by accepting that every digital camera file is a starting point, not a finished artwork. Even a strong JPEG straight out of the camera benefits from subtle Lightroom edits, especially when you shoot in mixed light or high contrast situations. Once you see editing photos as finishing work rather than fakery, you will feel free to use the Library Develop tools and the Develop Module sliders without guilt or hesitation.
That mindset also helps you resist the urge to push every slider to extremes. Lightroom basics for beginners are about restraint, because heavy handed photo editing quickly turns a natural image into something that looks synthetic and dated. Aim for edits that you only notice when you compare the before and after photos side by side, not while casually scrolling through your images.
Remember that Lightroom is built around a non destructive workflow. Every change you make in the Develop Module is stored as a set of instructions, so your original image file remains untouched in the Library Module and in your operating system folders. This means you can experiment freely, roll back edits, or create virtual copies and alternate collections without risking your original photos.
Finally, keep your expectations realistic during your first hour. You will not master every module or every tone curve nuance in one sitting, and you do not need to. Focus on a repeatable beginner guide that uses five core sliders, and let your confidence grow as you see how small edits can rescue flat images and make your camera work shine.
Setting up Lightroom so your first edits feel simple
Before you touch the five key sliders, you need a clean workspace. Start in the Library Module and use the Import dialog to bring in a small set of photos from your camera, ideally a mix of bright daylight images and trickier low light shots. Working with a tight collection of ten to twenty photos will keep your first step manageable and help you see patterns in your edits.
During import, create a simple folder structure and one or two collections, for example a collection for a weekend trip and another for a family event. This basic organisation will pay off later when your Lightroom Library Develop view holds thousands of images, because you will be able to jump between projects without hunting through random folders. Tag a few favourites with flags or stars so your beginner guide to editing photos starts with the frames you actually care about.
At this stage you do not need every panel open. In the Develop Module, collapse advanced sections like Lens Corrections and the Tone Curve for now, and keep only the Basic panel visible so the core sliders are front and centre. You can always expand those extra tools later when Lightroom basics for beginners feel second nature and you want to refine your workflow.
Think about how you shoot as well, because your camera settings will shape how far you can push each edit. If you are still learning exposure and depth of field, a dedicated session on manual mode and the exposure triangle, such as a practical guide to learning manual mode in a weekend, will make your Lightroom work much easier. Cleaner exposures from the camera mean gentler edits in Adobe Lightroom, which is exactly what you want while you are still learning.
Once your photos sit in the Library Module, switch to the Develop Module and enable the before and after view so you can compare each edit in real time. This simple habit will keep you honest, because you will see when a basic adjustment improves the image and when you have pushed too far. It also trains your eye to notice subtle differences in tone and colour, which is the foundation of good photo editing.
Finally, decide how you will free share your work once you are done. Whether you export small JPEG images for social media or full resolution files for printing, knowing your destination will guide how aggressively you sharpen, crop, and compress your photos. A clear output goal turns a vague editing session into a focused workflow, which is exactly what a beginner needs.
RAW versus JPEG and why it matters for five key sliders
The single biggest upgrade you can give your Lightroom basics for beginners is to start shooting RAW instead of only JPEG. A RAW file from your camera holds more tonal data and colour information, which gives the Develop Module far more room to adjust exposure, highlights, and shadows without breaking the image. JPEG photos can still benefit from careful edits, but they clip sooner and show banding or halos when pushed too hard.
Think of RAW as a digital negative and JPEG as a processed print, because that analogy captures how much flexibility you gain in Adobe Lightroom. When you move the Exposure slider on a RAW image, you can often recover a full stop or more of detail in bright skies or dark clothing, while a JPEG will fall apart with the same edit. For a beginner this extra latitude is forgiving, since it lets you rescue slightly underexposed or overexposed photos that would otherwise be throwaways.
If you are still learning how to expose consistently, pairing RAW capture with a structured lesson on the exposure triangle, such as a clear manual mode tutorial without heavy maths, creates a powerful combination. Better exposures from the camera reduce the amount of heavy lifting you ask Lightroom to do, and RAW files give you a safety net when your metering misses. Together they make the five core sliders feel like fine tuning tools rather than emergency fixes.
RAW also interacts differently with colour adjustments. When you change White Balance or tweak Vibrance and Saturation in the Basic panel, a RAW image will usually handle those edits gracefully, while a JPEG may show colour blocking or strange skin tones. That is why most serious beginner guide material for Lightroom recommends switching your camera to RAW or RAW plus JPEG as soon as you feel comfortable managing slightly larger files.
There is a trade off, of course, because RAW files are bigger and require a bit more storage and processing power. However, for a typical enthusiast with a modern laptop and a modest Lightroom Library, the benefits in editing flexibility far outweigh the costs. Once you see how easily you can open shadows or tame blown highlights in RAW photos, you will not want to go back.
Whether you shoot RAW, JPEG, or both, the core workflow remains the same. You import your images into the Library Module, move to the Develop Module, and apply a consistent sequence of basic edits using the same five sliders. The difference is simply how far those sliders can stretch before the image quality starts to crumble.
The five sliders that fix almost any photo
Lightroom offers dozens of controls, but five sliders in the Basic panel do most of the heavy lifting. Exposure, Contrast, Highlights, Shadows, and White Balance form the backbone of lightroom basics for beginners, because they shape how bright the image feels, how deep the blacks look, and how natural the colours appear. If you learn to move only these five with intention, your photos will already look dramatically better.
Start with Exposure, which sets the overall brightness of the photo. Drag it slowly until the midtones, such as faces or key subjects, look natural, and ignore the sky or deep shadows for this first step. Next adjust Contrast, Whites, and Blacks together to define the tonal range, because this trio controls how punchy or flat the image feels without destroying detail.
Once the global brightness feels right, move to Highlights and Shadows. Use Highlights to recover detail in bright areas like clouds or white shirts, and use Shadows to open up dark corners without turning them grey and muddy. Watch the histogram and the image together, and stop when you see texture returning in both bright and dark regions.
White Balance is your colour anchor. If your camera guessed wrong under mixed lighting, use the Temperature and Tint sliders to remove colour casts so whites look neutral and skin tones look believable. A simple trick for a beginner is to find something in the photo that should be grey or white and adjust until it looks clean rather than blue, green, or orange.
Finally, refine colour with Vibrance and Saturation, which live in the same Basic panel. Vibrance is usually safer for people photos because it boosts muted colours more than already saturated ones, while Saturation pushes everything equally and can quickly look cartoonish. For most images a small Vibrance increase and a tiny Saturation tweak are enough, especially when you are still learning Lightroom basics for beginners.
As you grow more confident, you can start exploring the Tone Curve and Lens Corrections panels for extra polish. The Tone Curve lets you fine tune contrast in specific tonal regions, while Lens Corrections can fix distortion and vignetting from your camera lens. However, those tools are optional in your first hour, whereas the five core sliders are essential for almost every edit.
A simple, repeatable workflow for consistent edits
Consistency beats complexity when you are learning Lightroom basics for beginners. A simple step by step workflow will keep you from bouncing randomly between panels and help your edits look coherent across an entire set of photos. Think of it as a beginner guide to building muscle memory in the Develop Module.
Start in the Library Module by culling ruthlessly. Flag or rate only the images you genuinely like, then create a quick collection so your editing photos session focuses on a tight group rather than every frame from the card. This small discipline keeps your workflow efficient and prevents decision fatigue before you even touch a slider.
Once you move to the Develop Module, follow the same order every time. First crop and straighten the photo so your composition feels intentional, then set Exposure and Contrast to establish the overall brightness and punch. Next refine Whites and Blacks, then adjust Highlights and Shadows to recover detail, and finally correct White Balance before adding a touch of Vibrance or Saturation.
After you finish one image, sync or copy those basic edits to similar photos in the same collection. Lightroom lets you apply selected adjustments across multiple images, which is a huge time saver when you have a series shot in the same light. You can then fine tune each photo individually, but the heavy lifting will already be done.
As you repeat this process, you will start to see patterns in your own shooting. Maybe you consistently underexpose by a third of a stop, or your camera tends to render indoor scenes too warm, and those tendencies will show up in the same edits you apply again and again. That feedback loop between camera habits and Lightroom adjustments is one of the quiet superpowers of a disciplined workflow.
When you are ready to refine further, you can introduce gentle use of the Tone Curve and Lens Corrections into your routine. For example, you might enable profile based lens corrections by default for your main lens, then add a subtle S curve for extra midtone contrast on certain images. The key is to layer these advanced tools on top of a rock solid basic workflow, not to replace the five core sliders that already fix most photos.
Avoiding common beginner traps and using presets wisely
Most Lightroom beginners run into the same handful of problems. Heavy Clarity, over sharpened details, and oversaturated skies can make an image look impressive on a phone screen but artificial and harsh on a larger display or print. The goal of lightroom basics for beginners is to help you avoid those traps while still giving your photos a clear, confident look.
Sharpening is a classic example. The default sharpening settings in Adobe Lightroom are usually enough for most images, especially when you plan to export for the web, so cranking the Amount slider rarely helps. Instead, use the Masking slider while holding the Alt or Option key to limit sharpening to edges, which keeps smoother areas like skin and skies from turning gritty.
Colour is another danger zone. It is tempting to push Saturation until blues and greens pop, but that often crushes subtle gradients in skies and foliage, especially in JPEG files. A better approach is to rely on moderate Vibrance, then use the HSL panel later in your learning journey if you need targeted tweaks.
Presets can be powerful allies when used as starting points rather than final looks. Applying a preset at the beginning of your edit can give you a quick sense of direction, but you should still walk through your usual step by step workflow, adjusting Exposure, Highlights, Shadows, and White Balance to fit the specific image. Over time you can save your own presets based on real edits that worked well across multiple photos, which is far more reliable than chasing trendy one click styles.
Remember that Lightroom stores every change non destructively, so you can always roll back or create virtual copies to compare different edits. This makes experimentation safe, whether you are testing a new preset, exploring the Tone Curve, or toggling Lens Corrections on and off to see how they affect your image. The more you compare before and after views, the better your judgement will become.
Finally, think about how your edited photos will live in the real world. If you plan to print, keep an eye on noise in opened shadows and avoid extreme contrast that can block up detail on paper, while social media images can tolerate slightly bolder edits. Whatever your destination, a restrained, consistent approach to the five core sliders will age better than any dramatic effect, because the best edit is the one that lets your subject breathe.
Key statistics about Lightroom use and photo editing habits
- According to Adobe, Lightroom and Lightroom Classic together manage billions of images worldwide, reflecting how central non destructive photo editing has become for both beginners and professionals.
- Industry surveys from camera manufacturers show that a majority of enthusiast photographers now shoot RAW plus JPEG, which directly supports the kind of flexible Develop Module adjustments described in this guide.
- Data from major photo sharing platforms indicates that edited photos receive significantly higher engagement than unedited uploads, underscoring the value of even basic Lightroom adjustments.
- Market research on creative software adoption reports that Adobe Lightroom remains one of the most widely used tools for library management and photo editing, especially among photographers who shoot with interchangeable lens cameras.
FAQ about Lightroom basics for beginners
Do I need Lightroom Classic or the cloud based Lightroom to follow this guide ?
Both versions share the same core Develop Module sliders, so the five slider workflow applies to either. The main differences are in how the Library Module handles files and where your images are stored. Choose the version that fits your storage preferences, then focus on mastering the Basic panel.
Should a beginner start with RAW or JPEG files in Lightroom ?
RAW files give you more flexibility with Exposure, Highlights, Shadows, and White Balance, which makes them ideal for learning. However, if file size or complexity worries you, starting with JPEG and switching to RAW later is perfectly reasonable. The five slider approach works on both formats, you just have more headroom with RAW.
How much time should I spend editing a single photo as a beginner ?
During your first hour, aim for two to three minutes per image while you learn the workflow. As you build muscle memory with the Library Module and Develop Module, that time will naturally drop to under a minute for straightforward photos. The goal is consistency, not perfection on every frame.
Are presets necessary for good results in Lightroom ?
Presets are optional and should be treated as starting points rather than magic solutions. You can achieve excellent results using only the Basic panel sliders described in this guide, then add presets later if you want a faster way to apply a particular style. Always refine Exposure, Highlights, Shadows, and White Balance after applying any preset.
What is the best way to learn more after mastering the five sliders ?
Once you feel comfortable with the core Lightroom basics for beginners, explore the Tone Curve, local adjustment tools, and Lens Corrections one at a time. Practice on familiar images so you can clearly see what each new tool adds. Gradual, focused learning will build deeper skills than jumping between every advanced feature at once.