Understanding light and timing for expressive landscape photographs
Strong scenery photography tips always begin with understanding light. The same landscape can look flat at midday, yet the identical scene becomes a stunning landscape when the sun grazes it from the side. If you respect light and time, every photo gains depth and emotion.
For most landscape photography situations, the best moments arrive around sunrise sunset. During this time the low angle of light sculpts mountains, trees, and clouds, giving every image a three dimensional quality that no camera sensor can invent later. You will also notice that colours in landscape photos stay richer and more subtle when the sun sits low.
Plan your photography sessions so you reach the location early and can calmly find a clean horizon. This extra time lets you study the scene, refine your composition, and decide which photographs deserve a slower shutter or a fast shutter. Many landscape photographers walk around without the camera at first, simply observing how the light moves across the frame.
When the sun is high, look for soft light in shade or wait for clouds to diffuse the harsh rays. These conditions help you keep a sharp image without extreme shutter speeds, while still producing natural looking images. Thoughtful scenery photography tips always remind you that patience with light usually matters more than any new camera.
Mastering shutter speed and focus for sharp landscape images
Technical control turns scenery photography tips into reliable habits. In landscape photography, shutter speed and focus work together to decide whether your photos feel crisp or slightly blurred. A modern digital camera gives you precise control, but you must tell it exactly what you want.
For static scenes with no wind, a slower shutter often works well. You can keep ISO low, maintain the best image quality, and still record every rock and tree as a sharp image. When wind shakes leaves or waves crash, you will need a fast shutter to freeze motion and protect fine detail.
Experiment with different shutter speeds on the same landscape, then compare each photo during post processing. This practice shows how a slower shutter can smooth water into fine art style images, while a faster shutter preserves texture in spray and foam. To deepen your understanding of exposure and master shutter speed adjustments, study how your camera responds in changing light.
Precise focus is equally important for landscape photographs. Many scenery photography tips recommend focus stacking when you need both foreground stones and distant mountains perfectly sharp in your images. By combining several photographs with different focus points, you will achieve landscape photos that look detailed from front to horizon.
Refining composition and the art of framing the landscape
Composition transforms simple photography into expressive art. When you apply the rule thirds thoughtfully, your landscape photographs gain balance and direction, guiding the eye through the frame. This classic guideline remains central to many scenery photography tips because it works reliably in varied environments.
Imagine your camera screen divided into nine equal rectangles. Place the horizon on the upper or lower third, never slicing the photo exactly in half unless the night sky or reflection demands symmetry. Position key elements such as trees, mountains, or rocks near the intersections to create dynamic landscape photos that feel intentional.
Framing also matters for both single image and multiple images in a series. Use foreground elements to lead viewers into the landscape, allowing their gaze to travel from front textures toward distant mountains. Many landscape photographers treat each frame as fine art, carefully excluding distractions at the edges of the photo.
A wide angle lens helps you include sweeping scenery, but it can also shrink distant subjects. Move closer to foreground details so they anchor the image and support the overall composition. For more nuanced framing ideas, study how different focal lengths behave and read about the versatility of 35 mm cameras in landscape photography.
Choosing camera settings and shooting techniques for landscape photos
Thoughtful scenery photography tips always address camera settings in practical terms. For landscape photography, shooting in aperture priority mode often provides the best balance between control and speed. You select the aperture for depth of field, and the camera chooses a matching shutter speed.
Use a moderately narrow aperture to keep most of the landscape sharp without softening the image through diffraction. Many lenses perform well around f/8 to f/11, giving you a sharp image from foreground to horizon in most photos. When light fades at sunrise sunset, raise ISO slightly rather than accepting dangerously slow shutter speeds.
Whenever possible, shoot raw instead of relying only on JPEG files. Raw images preserve more information in shadows and highlights, giving you flexibility during post processing to refine light, colour, and contrast. This approach helps you create landscape photographs that match the mood you experienced on location.
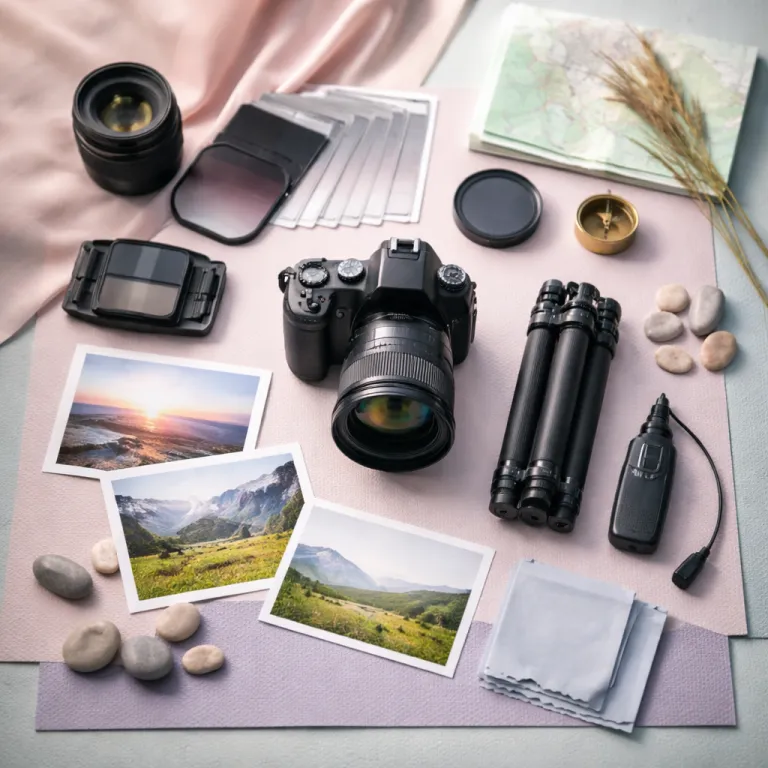
Use a tripod when shutter speeds drop, especially for night sky scenes or fine art style long exposures. A stable camera allows slower shutter choices without sacrificing clarity in your photographs. If wind shakes the tripod, hang weight from the centre column and use a remote shutter or timer to avoid vibrations.
Working with colour, post processing, and image search inspiration
Colour and tone shape how viewers feel about your landscape photos. Many scenery photography tips emphasise subtle adjustments rather than heavy effects, especially when you aim for fine art quality. Gentle changes in contrast and saturation often keep the image believable while still expressive.
During post processing, start by correcting exposure and white balance in your raw images. Then refine local contrast to emphasise mountains, clouds, or the night sky without crushing shadow detail in the landscape. Careful dodging and burning can guide attention through the frame and strengthen the overall composition.
Use image search thoughtfully when studying other landscape photographers and their work. Analyse how they handle light, where they place the horizon, and how they balance foreground and background in each photo. This practice turns casual viewing into structured photography tips that you can apply during your next outing.
Remember that every photograph reflects both technical choices and personal taste. Your camera records the scene, but your editing decisions transform simple images into cohesive landscape photographs. Aim for a consistent style across your photos so your portfolio feels like a unified body of art.
Advanced scenery photography tips for challenging conditions
Challenging conditions often produce the most memorable landscape images. When clouds race across the sky or waves crash against rocks, you will need to balance shutter speed, focus, and timing carefully. A fast shutter freezes drama, while a slower shutter turns motion into soft streaks that feel almost like fine art painting.
For scenes with extreme depth, combine focus stacking with a sturdy tripod. Capture several photos at different focus distances, from foreground stones to distant mountains and finally the horizon. Later, blend these images so the final landscape photo appears sharp from edge to edge.
Night sky photography demands even more discipline and patience. Use a wide angle lens, open the aperture, and raise ISO while keeping shutter speeds short enough to avoid star trails unless that effect suits your art. Many landscape photographers treat each night session as a study in light, time, and composition.
In the middle of your learning journey, it can help to read detailed camera reviews such as the field test of a compact mirrorless kit. Such resources connect practical photography tips with real world performance, helping you find equipment that supports your creative goals. Over time, your scenery photography tips will evolve into a personal workflow that consistently produces confident, expressive photographs.
Key statistics about scenery and landscape photography
- Global interest in landscape photography continues to grow across online image search platforms, with millions of new landscape photos and images shared daily.
- Surveys of landscape photographers show that a majority prefer to shoot raw for maximum post processing flexibility and the best final image quality.
- Usage data from popular photography communities indicates that wide angle lenses remain the most common choice for capturing a stunning landscape and expansive night sky scenes.
- Educational platforms report that tutorials on shutter speed, focus stacking, and rule thirds consistently rank among the most accessed photography tips for beginners and advanced users.
Common questions about scenery photography tips
How can I make my landscape photographs look sharper
Use a tripod, select a moderate aperture, and keep shutter speeds fast enough to avoid motion blur from wind or camera shake. Focus about one third into the scene or apply focus stacking when you need both foreground and distant mountains sharp in the same image. Always review each photo at full size to confirm that the horizon and key details remain crisp.
What is the best time of day for landscape photography
The most flattering light usually appears around sunrise sunset, when the sun sits low and creates long shadows across the landscape. During this time, colours in your photos look richer and the overall image gains depth. Midday can still work if you seek shade, clouds, or fine art style black and white photographs.
Should I always use a wide angle lens for landscape photos
A wide angle lens is excellent for including foreground and a broad horizon, but it is not the only option. Many landscape photographers also use standard or short telephoto lenses to compress mountains and isolate graphic shapes in the frame. Choose the focal length that best supports your composition and the story you want each photo to tell.
Why do scenery photography tips recommend shooting in raw format
When you shoot raw, your camera records more data in each image, especially in bright highlights and deep shadows. This extra information gives you greater control during post processing, allowing subtle adjustments to light, colour, and contrast. As a result, your landscape photographs can more accurately reflect the atmosphere you experienced on location.
How important is the rule thirds in landscape photography
The rule thirds offers a reliable starting point for strong composition in both single photos and series of images. Placing the horizon and key subjects along these lines usually creates a balanced frame that feels natural to viewers. Once you understand this principle, you will know when to follow it and when to break it for more experimental art.