Understanding the importance of a DSLR for product photography
Why DSLRs Stand Out in Product Photography
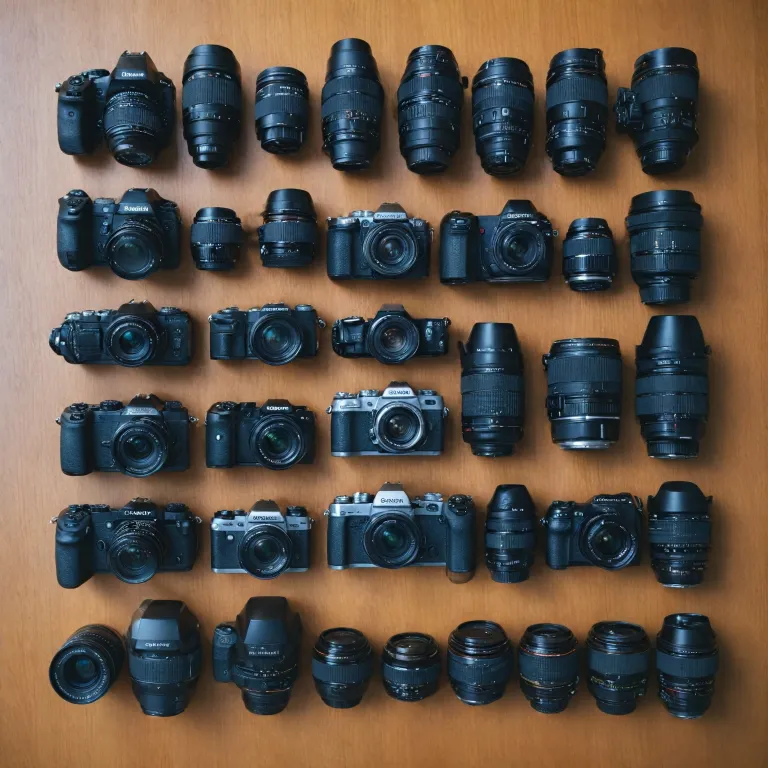
When it comes to capturing high-quality product photos, the choice of camera can make a significant difference. DSLRs have long been the preferred photography cameras for professionals and enthusiasts alike, especially for product photography. Their combination of advanced features, interchangeable lenses, and superior image quality gives photographers the flexibility and control needed for detailed product shots.
The Role of Image Quality and Sensor Size
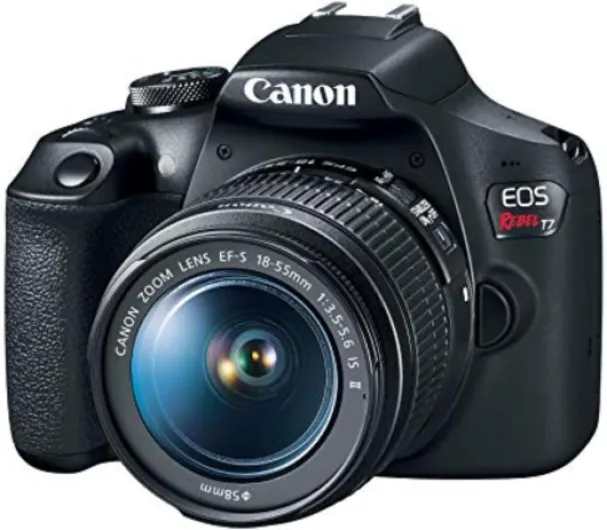
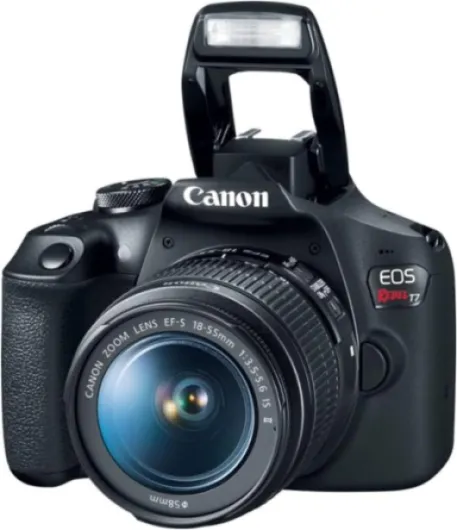
One of the main reasons DSLRs excel in product photography is their larger sensors, which directly impact image quality. Full frame sensors, found in many of the best cameras like the Canon EOS series or certain Sony models, capture more light and detail. This results in sharper, clearer images with less noise, even in low light conditions. For those starting out, entry level DSLRs such as the Canon Rebel offer a great balance between price and performance, making them a popular choice for beginners looking to improve their product shots.
Why Not Just Use Compact or Mirrorless Cameras?
While best compact cameras and mirrorless cameras have improved greatly, DSLRs still offer advantages for product photography. The optical viewfinder, longer battery life, and robust build quality make DSLRs reliable for extended shooting sessions. Additionally, the wide range of available lenses and accessories allows for more creative control over your product images.
Building on a Legacy of Quality
DSLRs have a long-standing reputation for delivering professional results. Many photographers appreciate the tactile experience and manual controls that DSLRs provide, which can be crucial when fine-tuning camera settings for the best product shots. For a deeper look at how classic cameras have shaped modern photography, check out this article on why the Minolta XD11 remains a favorite among camera enthusiasts.
- Superior image quality thanks to larger sensors
- Wide selection of lenses for different shooting needs
- Reliable performance and battery life for long sessions
- Manual controls for precise adjustments
As you explore the best camera options for your product photography, understanding these core advantages will help you make an informed decision. In the following sections, we’ll dive deeper into the key features to look for, lens selection, lighting, and techniques to achieve great product photos.
Key features to look for in a DSLR for product photography
Essential DSLR Features for Product Photography
When searching for the best camera for product photography, understanding which features matter most can make a real difference in your results. Not all cameras are created equal, and some are better suited for capturing sharp, detailed product shots. Here’s what to focus on when comparing photography cameras, whether you’re considering a Canon EOS, Sony, or another brand.
- Sensor Size and Resolution: A larger sensor, such as a full frame, captures more detail and performs better in low light. High resolution means your product photos will show fine textures and allow for cropping without losing quality. Many photographers prefer full frame cameras for their superior image quality, but entry level APS-C sensors can also deliver great results for product shots.
- ISO Range and Low Light Performance: A wide ISO range lets you shoot in different lighting conditions. Cameras with good high ISO performance reduce noise, keeping your images clean and sharp even in less-than-ideal lighting.
- Image Stabilization: Built-in image stabilization is a big plus, especially for handheld shooting. It helps prevent blur in your product images, making it easier to get sharp shots without a tripod. Both Canon and Sony offer models with excellent stabilization features.
- Autofocus System: Fast and accurate autofocus ensures your product is always in focus. Look for cameras with multiple focus points and reliable tracking, which is especially useful for small or intricate products.
- Lens Compatibility: The best camera is only as good as the lenses you can use with it. Canon Rebel and Sony mirrorless cameras offer a wide range of compatible lenses, including macro lenses ideal for detailed product photography.
- Battery Life: Long battery life is important for extended shooting sessions, especially if you’re photographing many products in one go. Compact cameras and mirrorless cameras sometimes have shorter battery life compared to DSLRs, so consider your workflow needs.
- Build Quality and Ergonomics: A comfortable grip and intuitive controls make a big difference during long shoots. Weather-sealed bodies are a bonus if you plan to shoot in different environments.
For a deeper dive into optimizing your camera’s output, including how to choose the right LUT for your Blackmagic G2 6K Studio Camera, check out this guide on LUT selection for studio cameras.
Choosing the right features will help you achieve high quality product images, whether you’re using a Canon, Sony, or another brand. The right camera product, paired with the right lens and settings, will set the foundation for professional product photos that stand out.
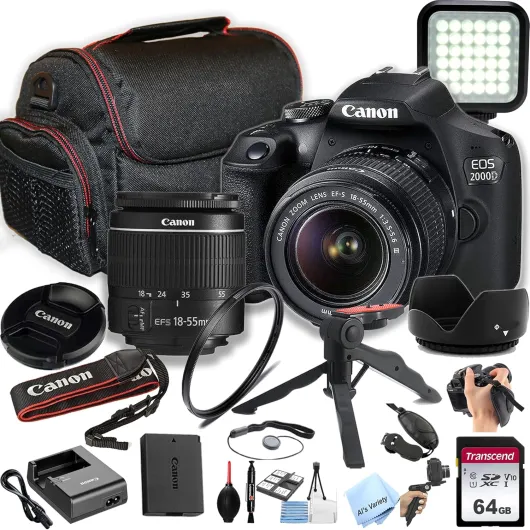
- + Two Lenses Included: EF 18-55mm and EF 75-300mm
- + Beginner Friendly: Easy to use for new photographers
- + High Image Quality: Great for photos and videos
- + Interchangeable Lenses: Flexible for different shooting situations
Lens selection for detailed product shots
Choosing the Right Lens for Crisp Product Shots
When it comes to product photography, the lens you pair with your DSLR can make a significant difference in image quality and detail. While the camera body is important, lenses are often the real game-changer for capturing sharp, vibrant product shots. Whether you’re using a Canon EOS, Sony, or another brand, understanding lens options is key for photographers aiming for the best results.
- Prime vs. Zoom Lenses: Prime lenses, such as a 50mm or 100mm macro, are popular for product photos due to their sharpness and wide apertures. Zoom lenses offer flexibility, but may not always match the image quality of a dedicated prime lens for close-up shots.
- Macro Lenses: For detailed product shots, a macro lens is often the best choice. These lenses allow you to get close to your subject, capturing textures and fine details that standard lenses might miss. Macro lenses are available for most camera brands, including Canon and Sony, and are a staple for product photographers.
- Image Stabilization: Look for lenses with built-in image stabilization. This feature helps reduce blur from camera shake, especially useful when shooting handheld or in low light conditions. Canon’s IS lenses and Sony’s OSS lenses are great examples.
- Full Frame Compatibility: If you’re using a full frame camera, make sure your lens is designed to cover the full sensor area. This ensures you get the best image quality and avoid vignetting at the edges of your photos.
- Entry Level Options: For those starting out, kit lenses bundled with entry level cameras like the Canon Rebel can be a good starting point. However, upgrading to a dedicated macro or prime lens will noticeably improve your product shots.
Lens selection also impacts your workflow. For example, a lens with a wide aperture (like f/2.8) allows for shooting in lower light and achieving a pleasing background blur, making your product stand out. On the other hand, a lens with a higher f-stop (like f/8 or f/11) will keep more of your product in focus, which is often desirable for catalog images.
Don’t forget to consider the lens’s minimum focusing distance. The closer you can get to your subject, the more detail you can capture in your product images. This is especially important for small items like jewelry or electronics.
For those interested in exploring autofocus options for product photography, check out this auto focus camera guide for more insights on how autofocus can streamline your shooting process and improve consistency in your product photos.
Ultimately, the best lens for product photography depends on your specific needs, budget, and the type of products you’re shooting. Investing in quality lenses will elevate your images and help you achieve professional results, whether you’re using compact cameras, mirrorless cameras, or a full frame DSLR.
Lighting considerations when using a DSLR
Mastering Light for Superior Product Photos
Lighting is one of the most critical factors in product photography. Even the best camera or lens can’t compensate for poor lighting. The right lighting setup will help you achieve sharp, vibrant images that showcase your product’s details and textures. Whether you’re using a Canon EOS, Sony, or another brand, understanding how to control and shape light is essential for producing high-quality product shots.
- Natural vs. Artificial Light: Natural light can be great for entry level photographers, but it’s often inconsistent. Artificial lighting, like LED panels or softboxes, gives you more control and consistency for your product photos.
- Soft Light for Fewer Shadows: Soft, diffused light helps minimize harsh shadows and highlights, making your product images look more professional. Use diffusers or shoot through white fabric to soften your light source.
- Positioning Your Lights: Place your lights at a 45-degree angle to your product for even illumination. Adjust the height and distance to control the intensity and shadow depth.
- Color Temperature: Consistent color temperature is key for accurate color reproduction. Most photography cameras let you adjust white balance, so match your camera settings to your light source (e.g., daylight, tungsten).
- Reflectors and Fill Lights: Use reflectors or secondary lights to fill in shadows and highlight product features. This is especially important for cameras product shots where every detail matters.
Many modern DSLRs, including the Canon Rebel series and Sony models, offer excellent ISO range and image stabilization, which help when shooting in lower light. However, even the best camera benefits from a well-lit scene. For photographers working with compact cameras or mirrorless cameras, portable lighting solutions are available and can greatly improve image quality.
Don’t forget to consider battery life when using external lights, especially for longer shooting sessions. Consistent lighting, paired with the right camera settings and lenses, will ensure your product images stand out with sharpness and clarity.
Camera settings and techniques for sharp product images
Optimizing Your DSLR Settings for Crisp Product Shots
Getting sharp, high-quality product photos with your DSLR depends on understanding and adjusting key camera settings. Whether you use a Canon EOS, Sony, or another brand, these adjustments will help you capture great images that highlight your product’s details and colors.
- Aperture: For most product photography, use a smaller aperture (higher f-number, like f/8 to f/16) to ensure the entire product is in focus. This is especially important for detailed shots where you want sharpness across the whole image.
- ISO Range: Keep your ISO as low as possible (ISO 100 or 200) to reduce noise and maintain the best image quality. Higher ISO settings can introduce grain, especially in low light, which can affect the clarity of your product photos.
- Shutter Speed: Use a tripod and a remote shutter release or timer to avoid camera shake. A slower shutter speed is fine when your camera is stable, helping you get sharp images even in lower light conditions.
- White Balance: Set your white balance manually or use a custom white balance to ensure accurate color reproduction. This is crucial for product shots where color accuracy impacts how your product is perceived.
- Focus: Switch to manual focus for precise control, especially when shooting close-ups. Autofocus can sometimes miss the exact point you want to highlight, so manual adjustments help you get the sharpest results.
- Image Stabilization: If your lens or camera has image stabilization, use it when shooting handheld. For tripod shots, turn it off to avoid any minor vibrations that could affect sharpness.
Techniques for Consistently Sharp Images
- Use a Tripod: Stability is key for product photography. Even the best camera can produce blurry images if there’s movement during shooting.
- Remote Shutter or Timer: Triggering the shutter without touching the camera reduces the risk of movement, resulting in sharper product shots.
- Mirror Lock-Up: If your DSLR offers this feature, use it to minimize internal vibrations when the shutter is released, especially for macro or close-up images.
- Check Focus with Live View: Use your camera’s live view mode to zoom in and check focus before taking the shot. This is particularly helpful for detailed product photos.
Remember, the combination of the right camera settings, a quality lens, and good technique will help you achieve professional-level product photos. Entry level and advanced photographers alike benefit from practicing these methods, whether using full frame, compact cameras, or mirrorless cameras. Consistent attention to these details ensures your product images stand out for their clarity and quality.
Post-processing tips for DSLR product photos
Enhancing Product Photos with Editing Tools
After capturing your product shots with a DSLR, the next step is post-processing. Editing is essential for achieving the best image quality and making your product photos stand out. Even the best camera, whether it’s a Canon EOS, Sony, or an entry level model, can benefit from thoughtful adjustments. Here’s how photographers can refine their images for professional results.
- Color Correction: Adjust white balance to ensure the product’s colors are accurate. This is especially important if you shoot under mixed lighting conditions. Most photography cameras allow you to shoot in RAW, which gives you more flexibility during editing.
- Exposure and Contrast: Fine-tune exposure, contrast, and brightness to highlight product details. This helps your product shots look crisp and vibrant, even if the original lighting wasn’t perfect.
- Sharpening: Apply sharpening carefully to enhance details without introducing noise. High-resolution sensors in full frame cameras or best compact models capture fine textures, but sharpening can further improve clarity.
- Background Cleanup: Remove dust, scratches, or distractions from the background. Clean backgrounds help the product stand out and improve the overall image quality.
- Lens Corrections: Use lens correction tools to fix distortion or vignetting, especially if you’re using wide-angle lenses or compact cameras. This ensures your product images look natural and professional.
- Noise Reduction: If you shoot at a high ISO range, especially in low light, apply noise reduction to maintain a clean look. Cameras with good image stabilization and larger sensors usually perform better, but editing can help further.
Choosing the Right Software for Product Photography
There are many editing programs available for photographers. Popular choices include Adobe Lightroom, Capture One, and even some camera manufacturer software from Canon or Sony. These tools support batch processing, which is great for editing multiple product photos efficiently.
Maintaining Consistency Across Product Images
For e-commerce or catalog work, consistency is key. Use presets or copy settings between images to ensure your product photography looks uniform. This helps build trust with customers and showcases your products in the best light.
Exporting for Web and Print
Finally, export your images in the right format and resolution. For web, JPEGs with optimized file size maintain quality while loading quickly. For print, use higher resolution files to preserve detail. Always double-check color profiles to ensure your product shots look great on any platform.

